KS0552 Keyestudio Writing Machine for Arduino DIY
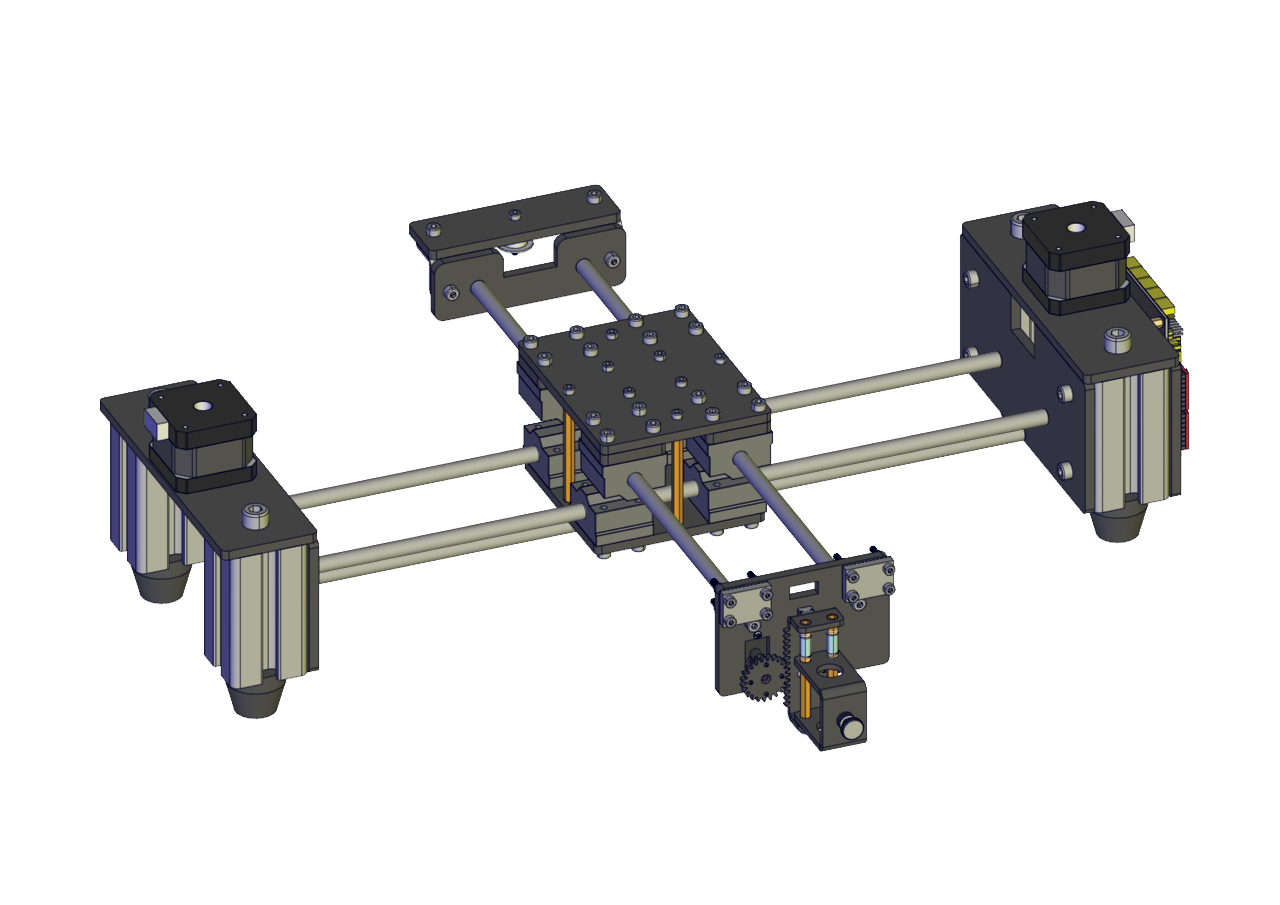
This is a CoreXY writing machine. It is compatible with distinct styles fonts like hollow font, filled font and monoline fonts. A customized special signature is not a dreamy reverie for you. In addition, it can draw and outline sleek and beautiful lines. With this amazing machine, you can create art works yourself.
Read me frist
Download the Code and library from the link: https://fs.keyestudio.com/KS0552
List
# |
PIC |
SPECIFICATION |
QTY |
|---|---|---|---|
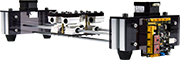
1 |
|
Writing and drawing machine Part A |
1 |
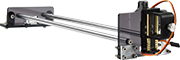
2 |
|
Writing and drawing machine Part B |
1 |
3 |
|
2GT open-ended synchronous belt 6mm*4m (2m each) |
1 |
4 |
HRC25 8*400mm polished rod |
3 |
|
5 |
|
3-core 1.2m power cord |
1 |
6 |
|
4P 150mm Dupont wire (red-blue-green-black) |
1 |
7 |
|
700mm Dupont wire |
1 |
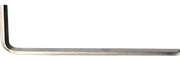
8 |
|
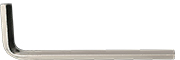
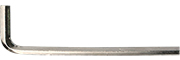
M4 L-type hex wrench |
1 |
9 |
|
M3 L-type hex wrench |
1 |
10 |
|
M4*10mm hex-socket head cap screw |
6 |
11 |
|
AM/BM 1m USB cable |
1 |
12 |
|
40P 40cm M-F BV wire |
0.075 |
13 |
|
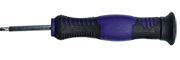
2.0*40mm Phillips screwdriver |
1 |
14 |
|
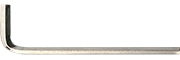
M6 L-type hex wrench |
1 |
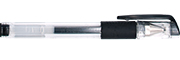
15 |
|
Neutral pen 0.5mm black |
1 |
16 |
|
M2.5 L-type hex wrench |
1 |
17 |
|
M1.5 L-type hex wrench |
1 |
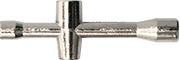
18 |
|
M2/M3/M4 cross wrench |
1 |
19 |
|
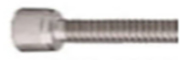
8mm widing pipe |
1 |
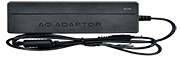
20 |
|
Power adapter with 1m wire(output DC12v4A) |
1 |


1. Features
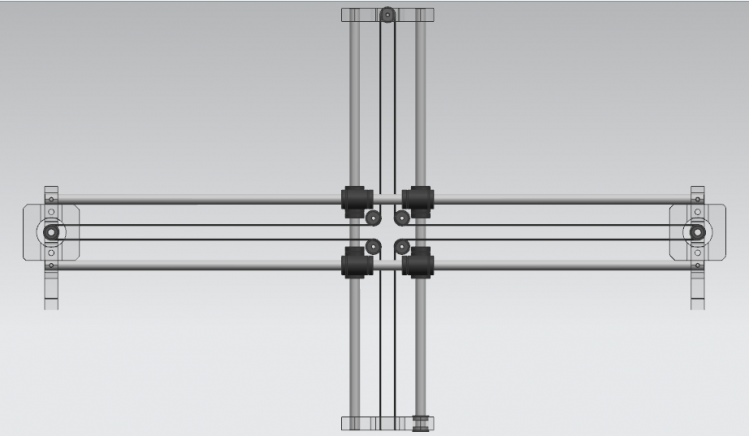
coreXY parallel motion
Simple and stable structure
Highly precise rail is used, well-performed writing and drawing
Simple control software
2. Parameters
Power supply |
|
|---|---|
Voltage |
12V |
Current |
5A |
Power |
60W |
Control Board
Control Chip: Mega328P
Input Voltage: 12V
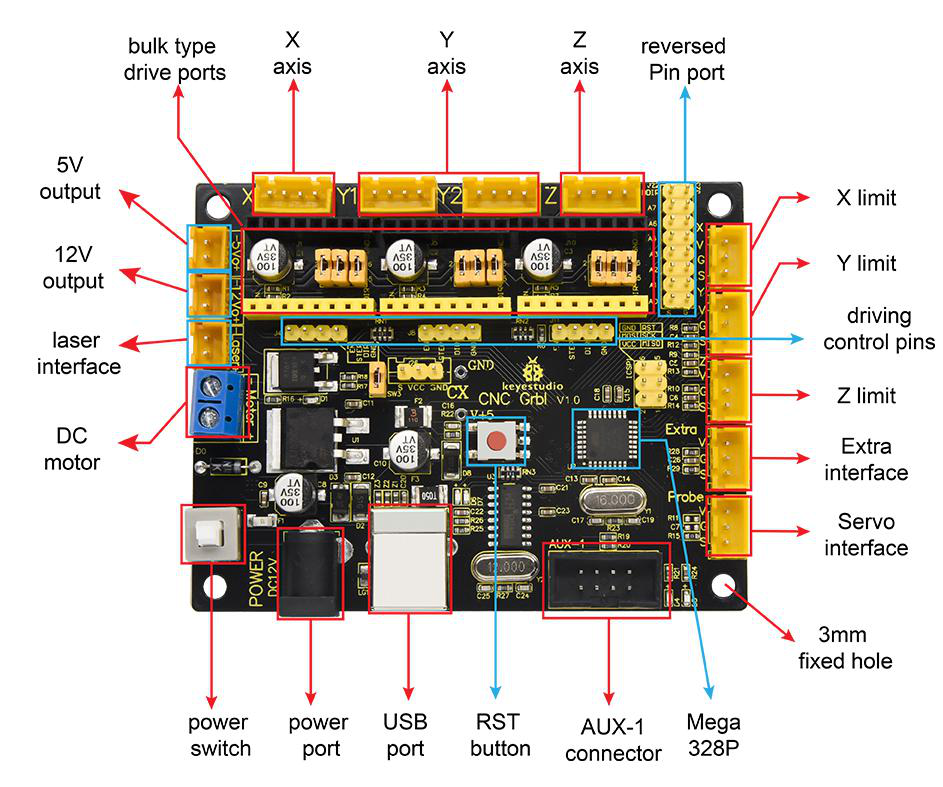
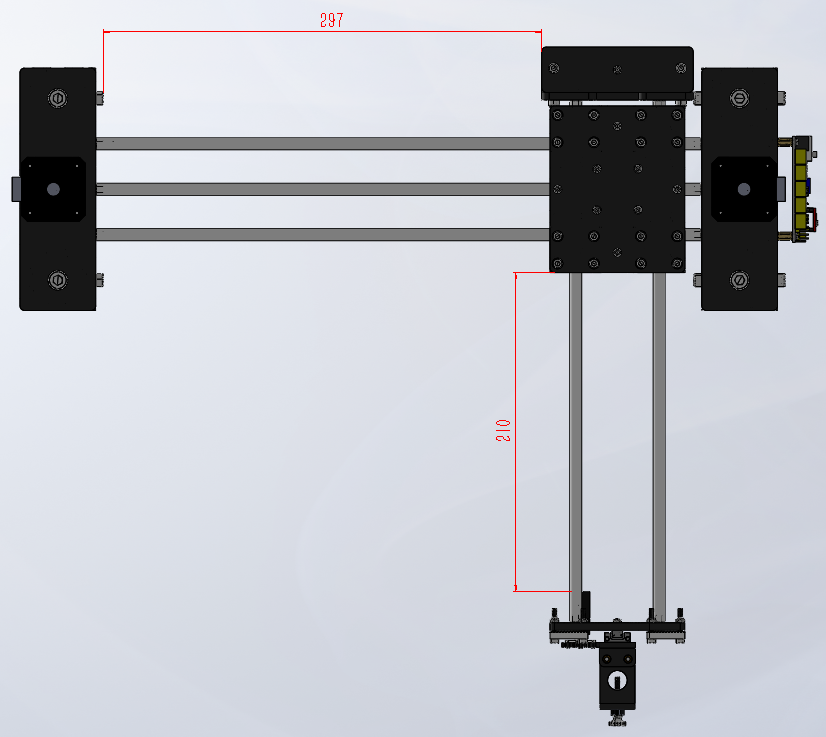
Dimension: 297 * 210
3. Preparation
3.1 Installation
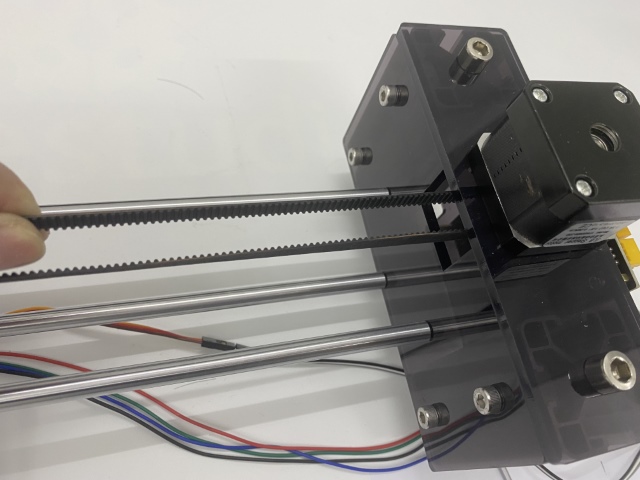
Step 1
Components Required
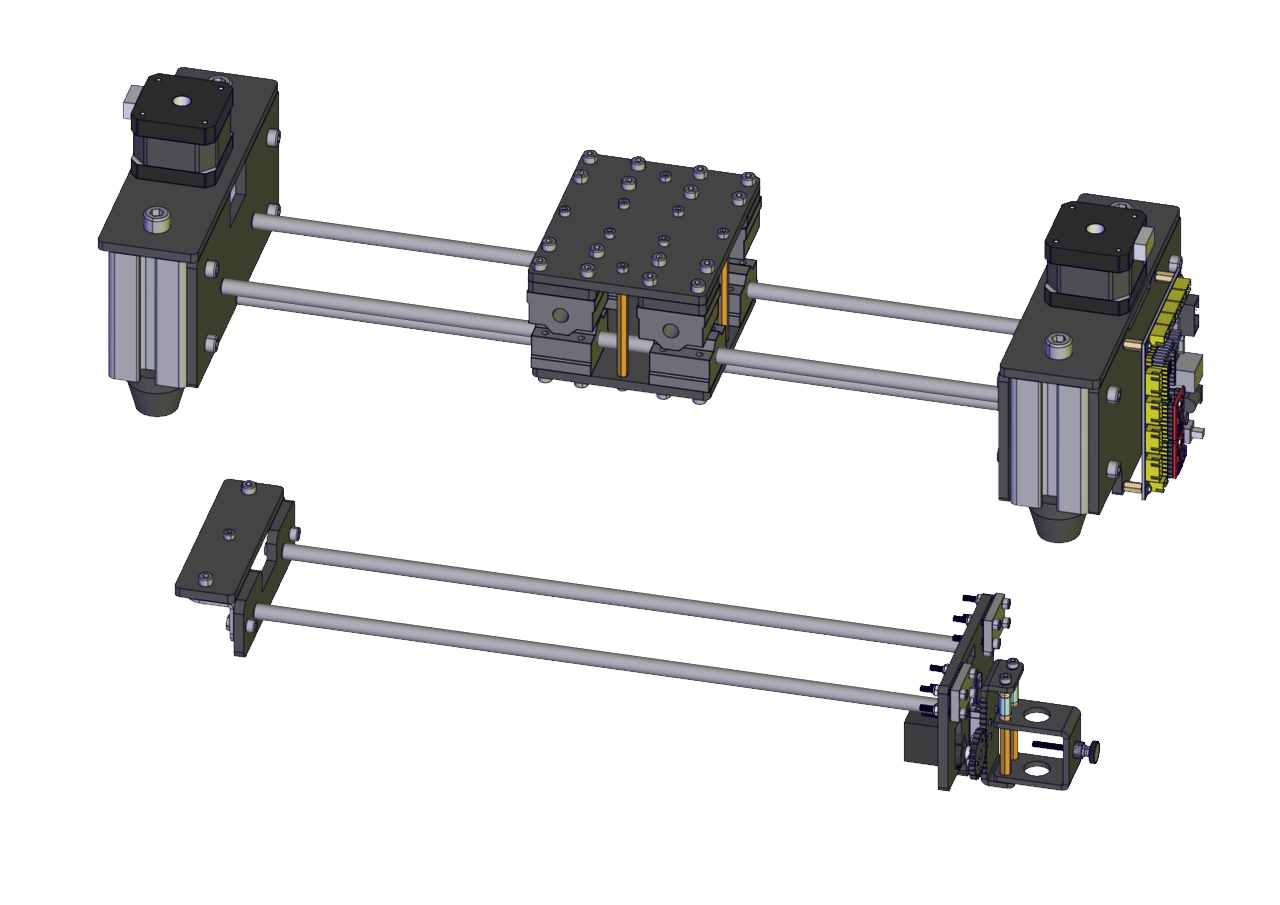
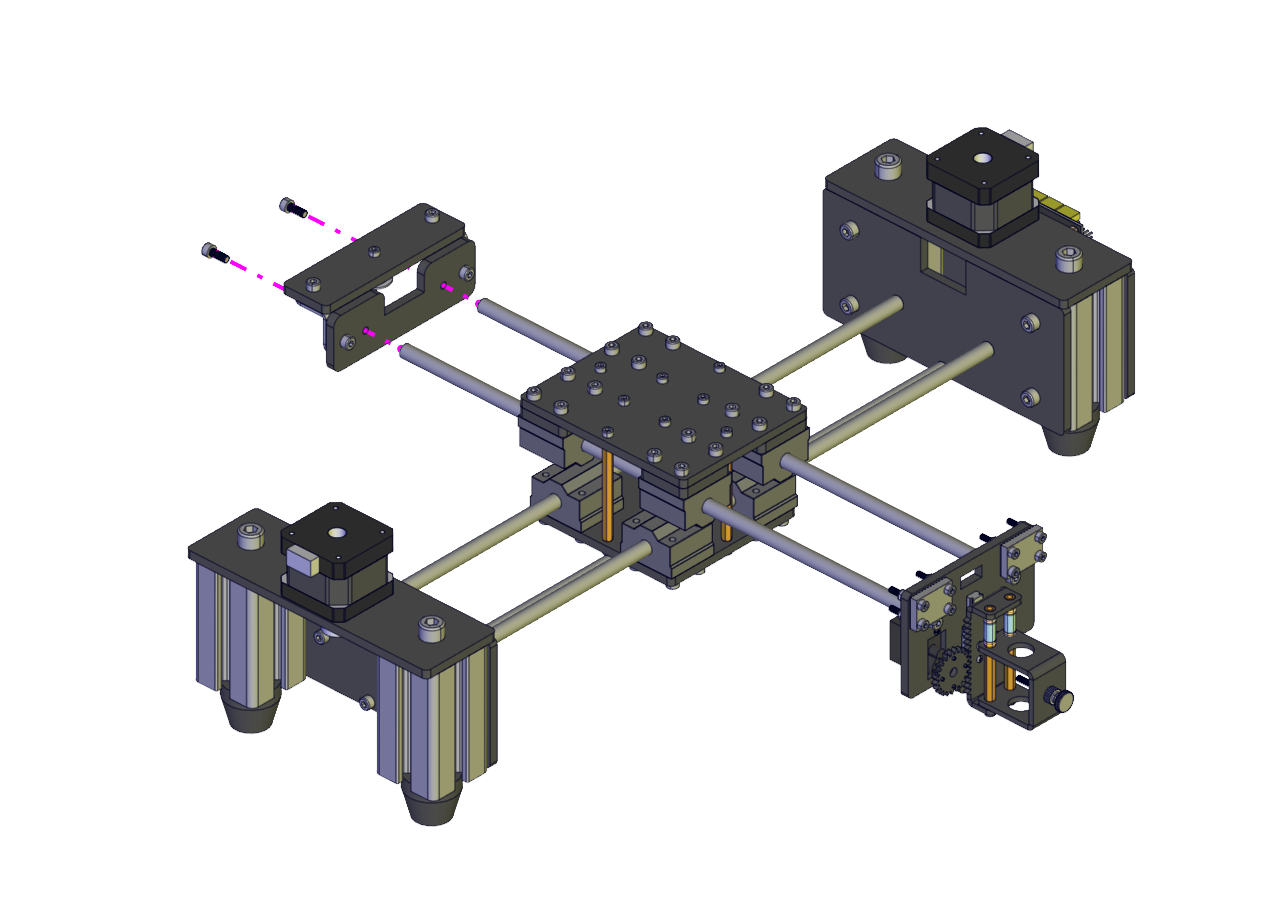
Dismantle two screws
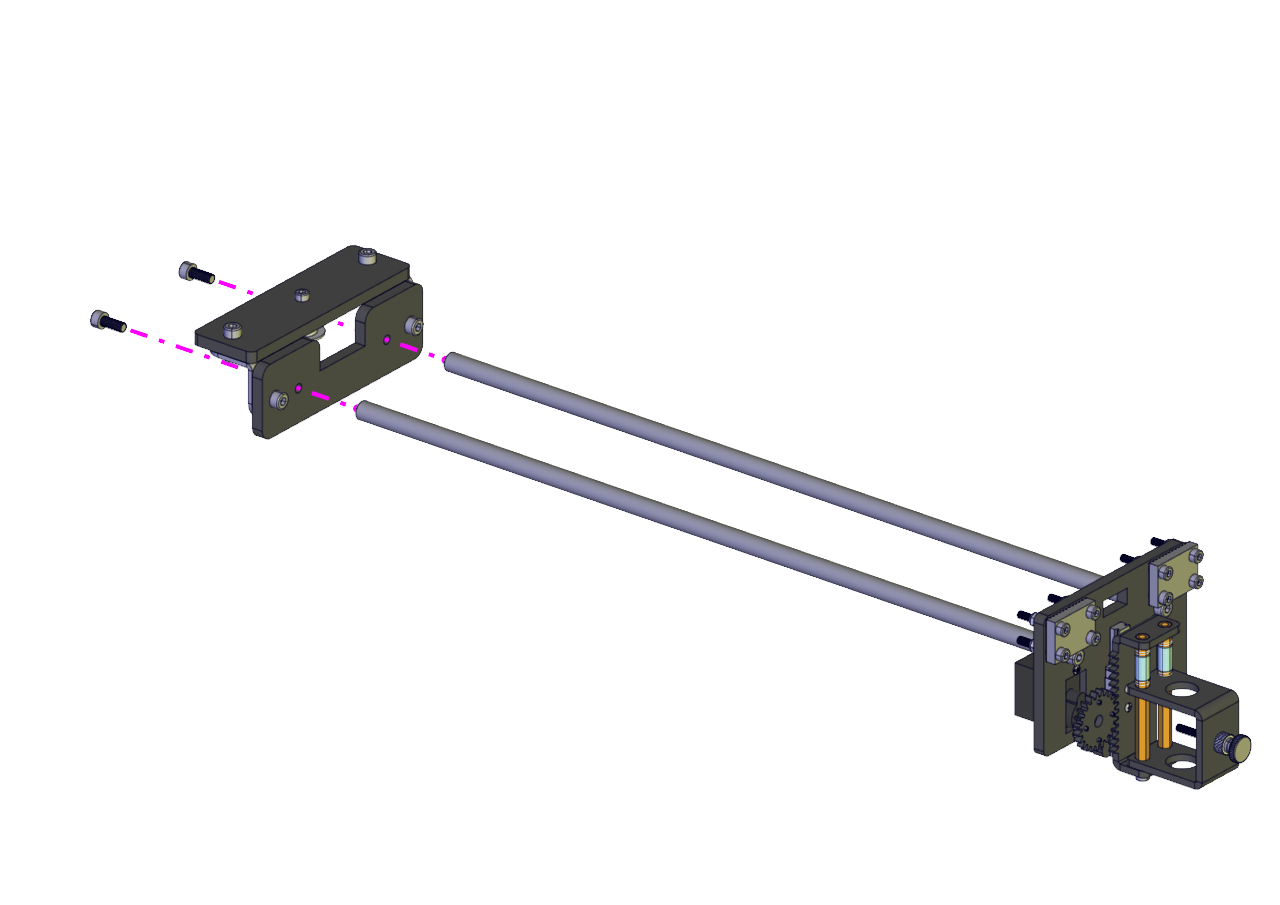
As shown:
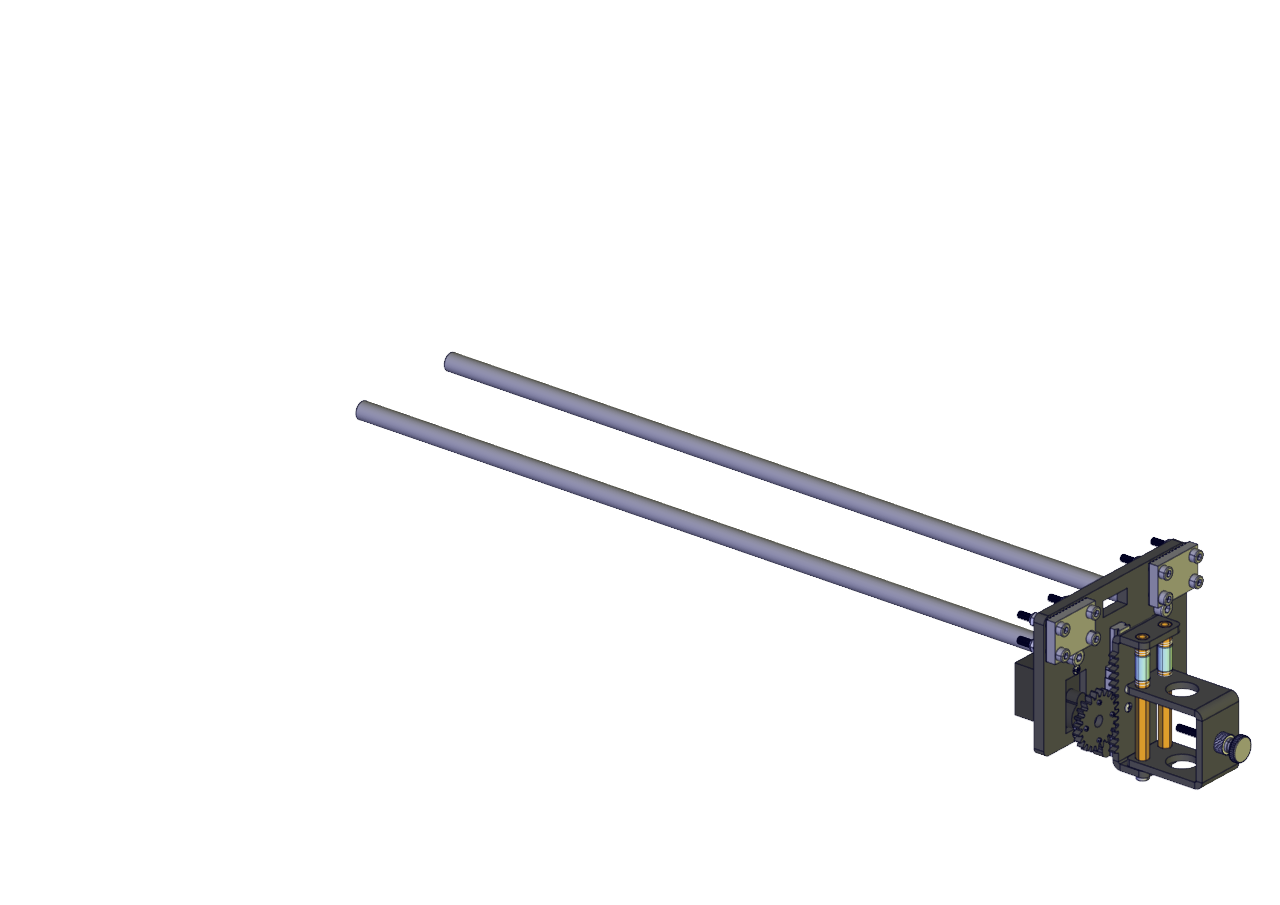
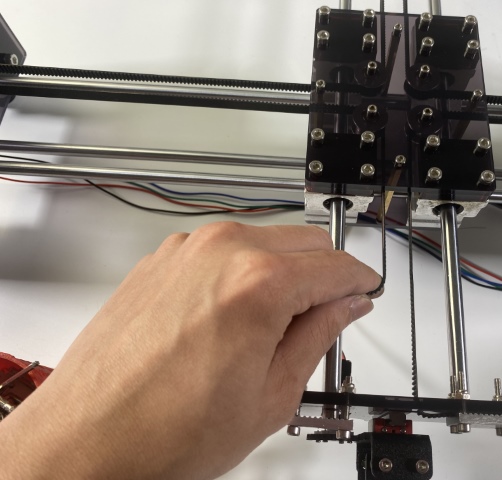
Insert polish rods into the bearing
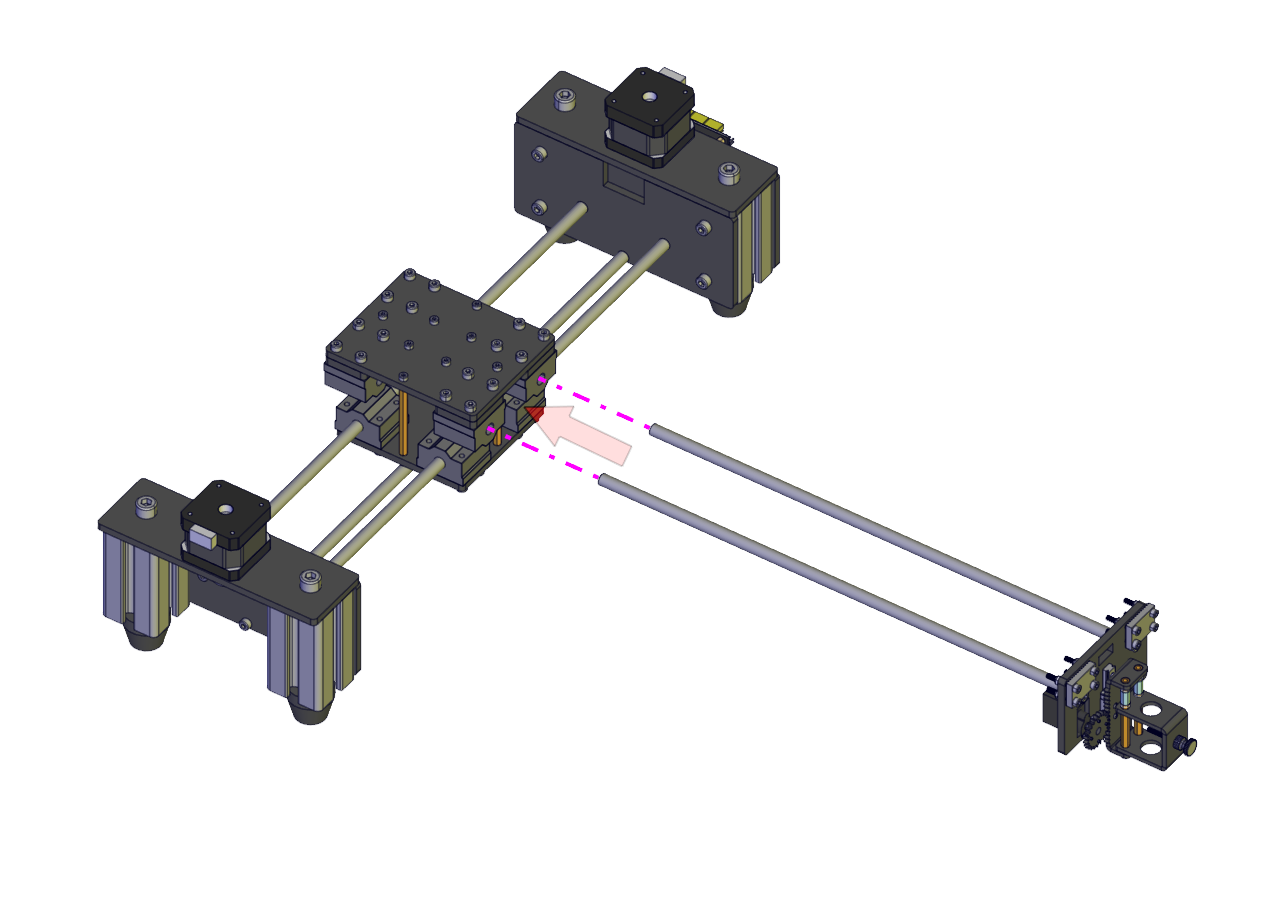
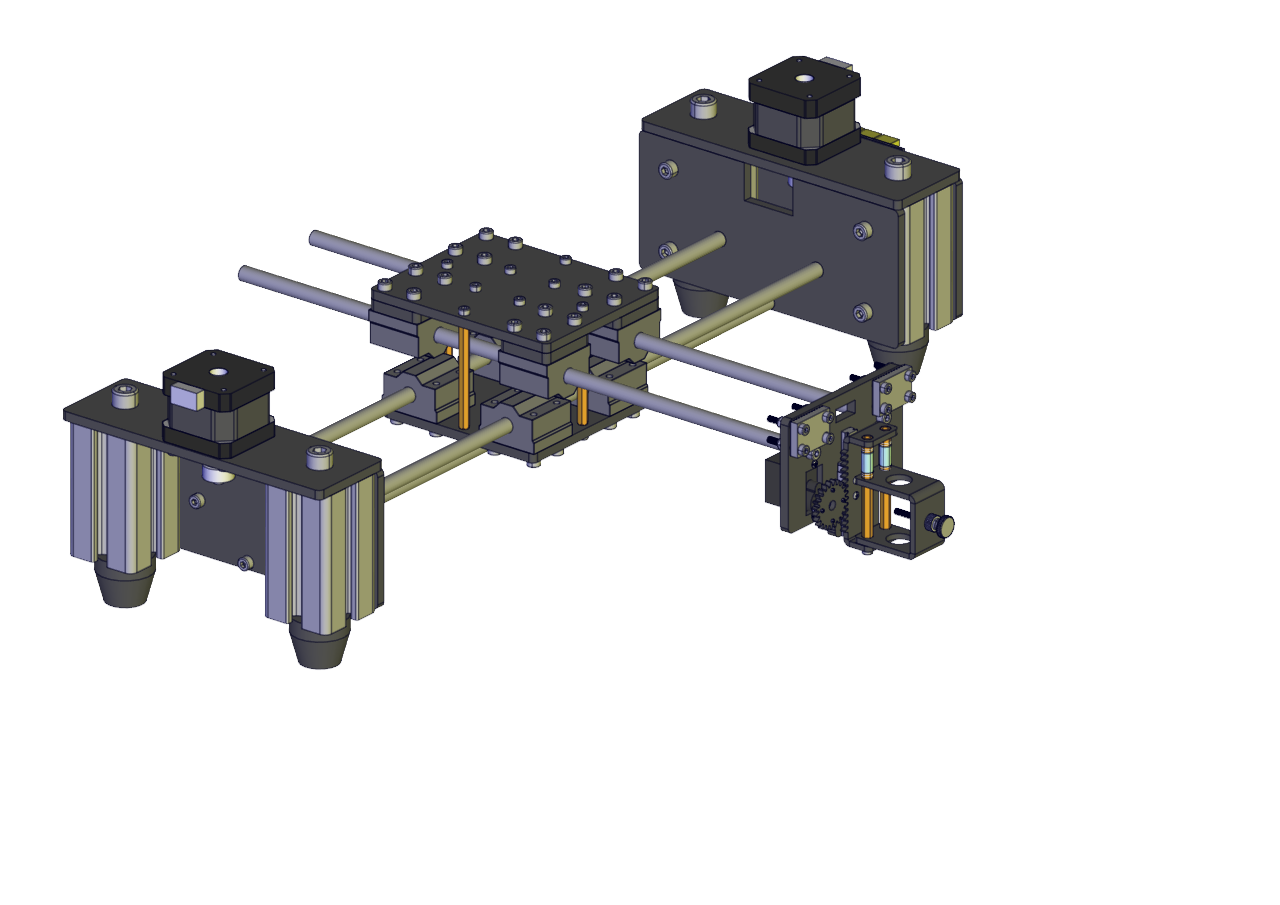
Assemble the dismantled component again
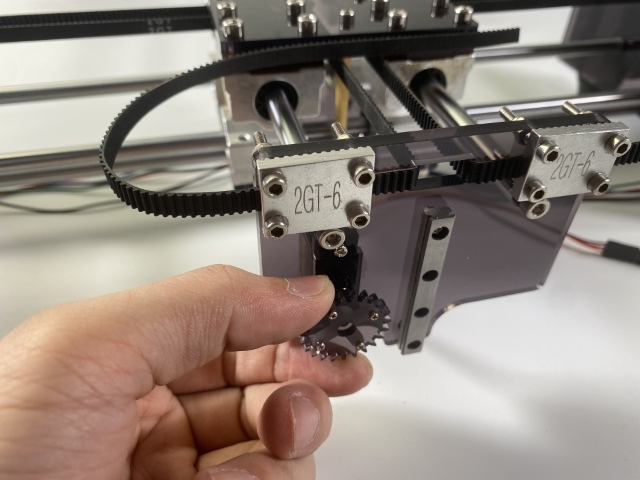
Synchronous Belt
GT2
Loosen two clap plates
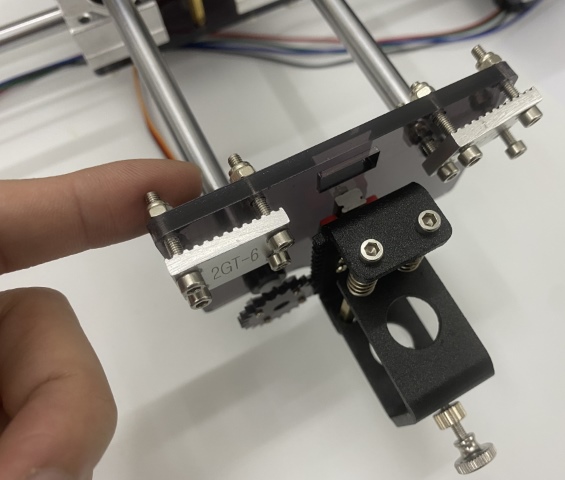
Make a synchronous belt
go through the right clap plate
and fix them together
make it go through the
synchronous wheel
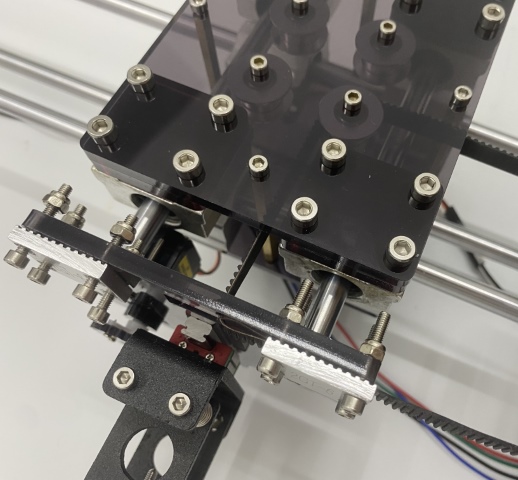
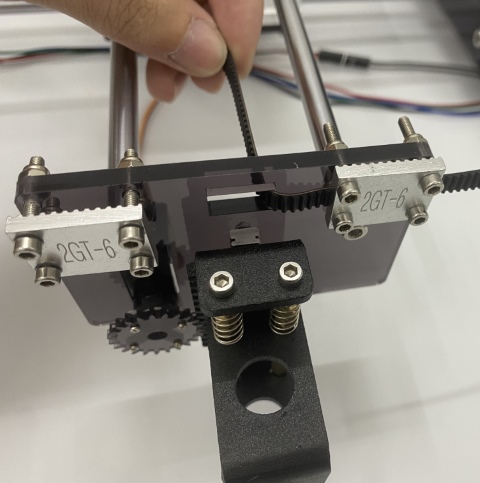
Hang the synchronous belt
on the synchronous wheel
of right motor
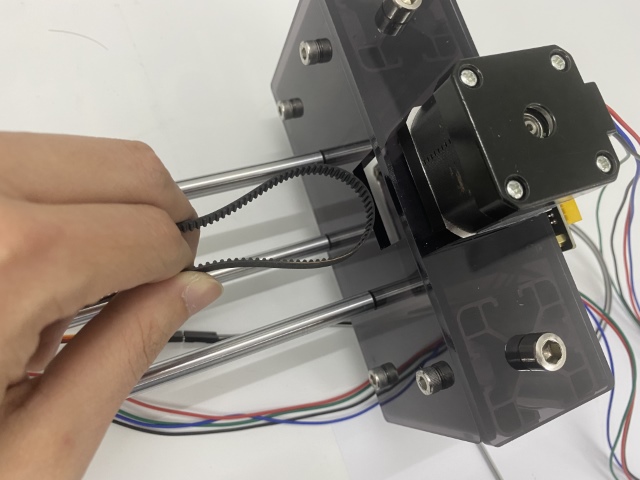
make the belt clamber
onto the right wheel

hang on the upper one
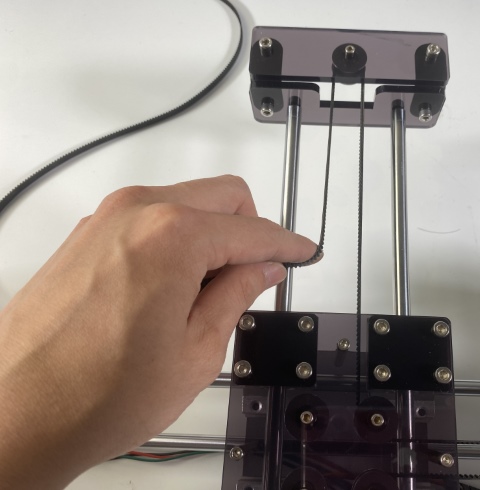
clamber on the left one
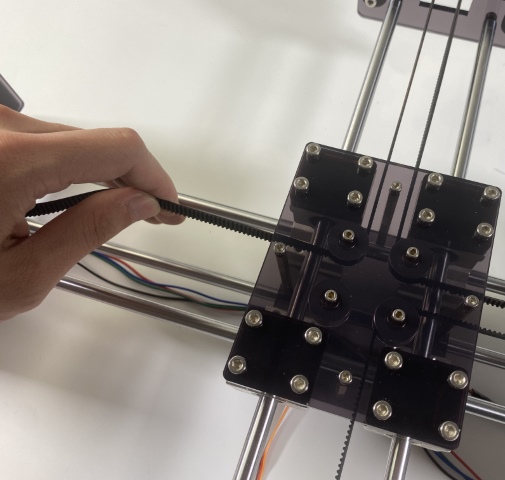
Go through the left driving
wheel of the left motor
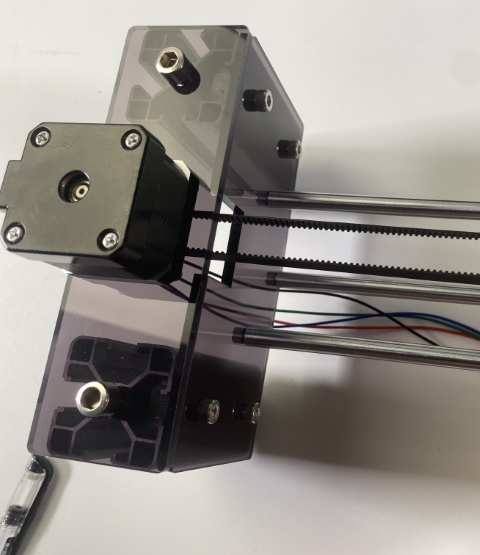
pass through the lower left
synchronization wheel
pass through the clap plate
with the the other end of
synchronous belt and
lock it tightly

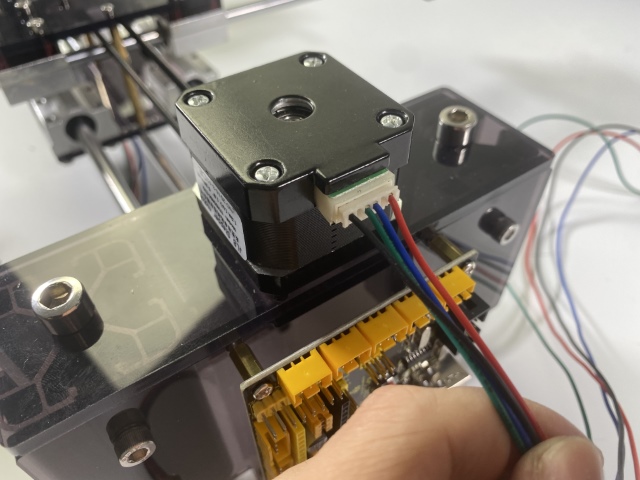
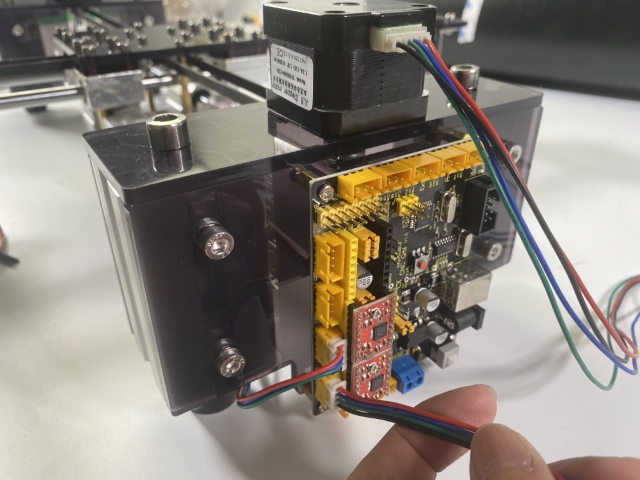
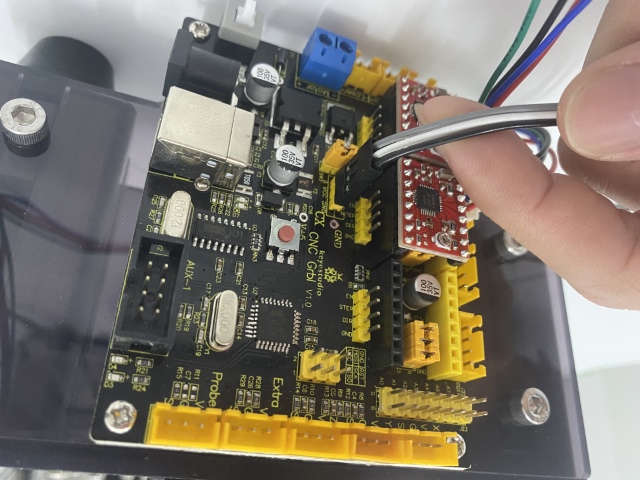
Wiring up
Left motor
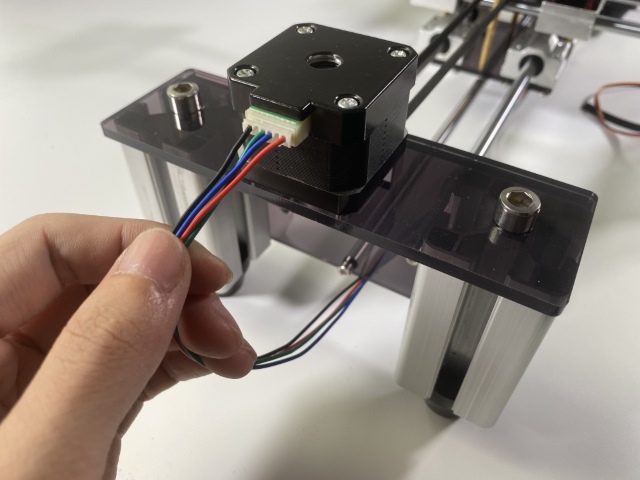
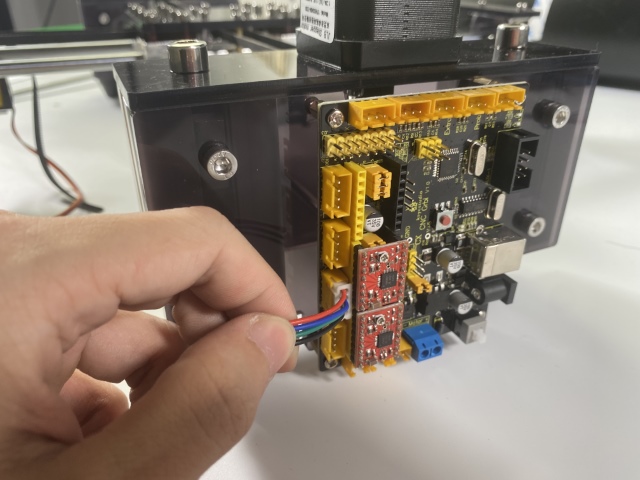
Wire up the left motor
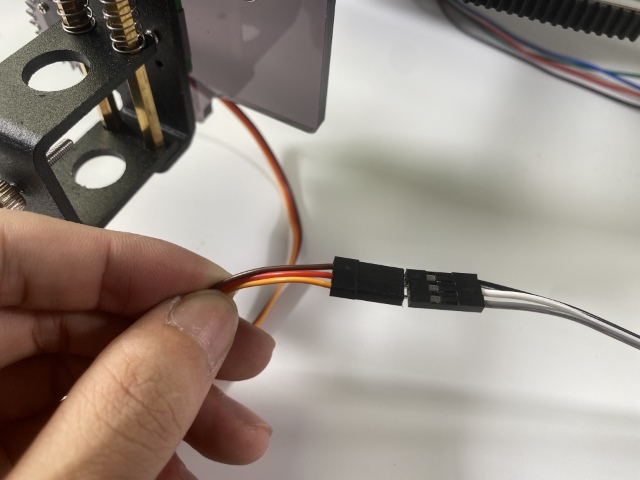
You need to interface the servo with the control board using extension Dupont wires
Adjust the servo to initial angle
Pull the pen holder out
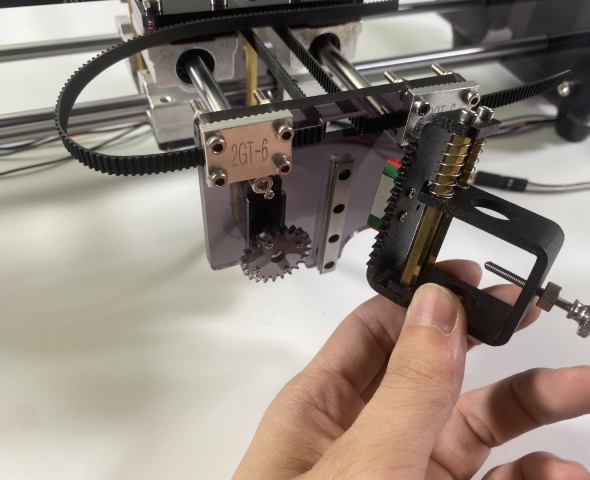
Rotate the servo anticlockwise
until it stuck
(the state that rotation
is restricted)
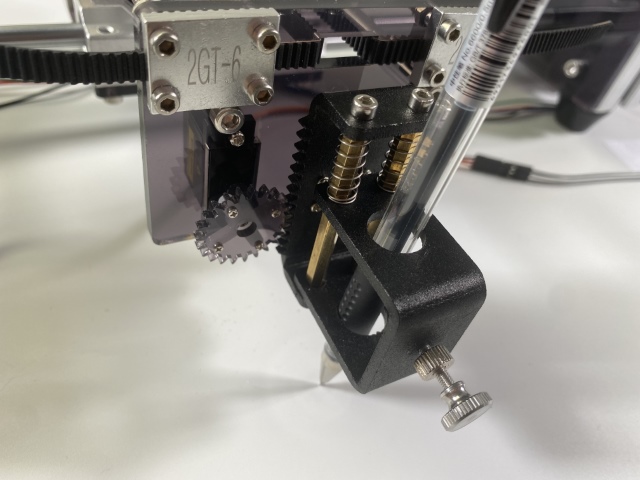
fix the pen holder onto
the sliding trail
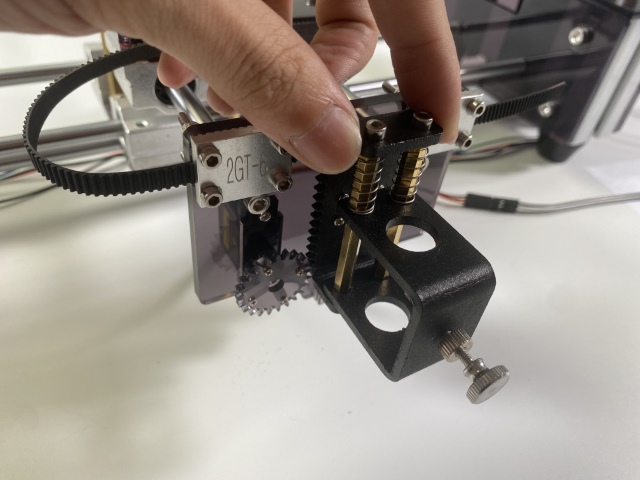
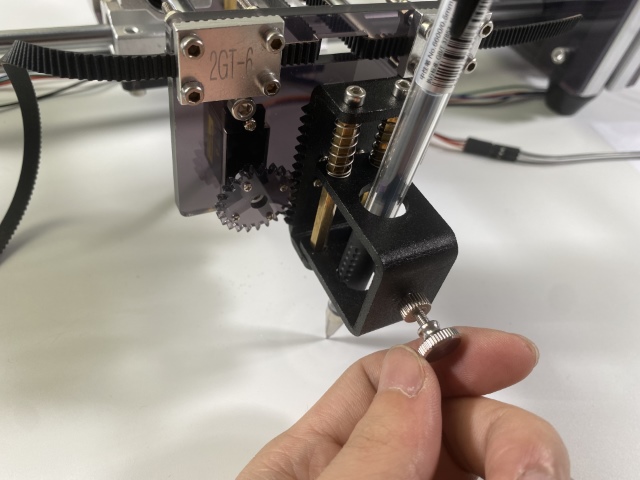
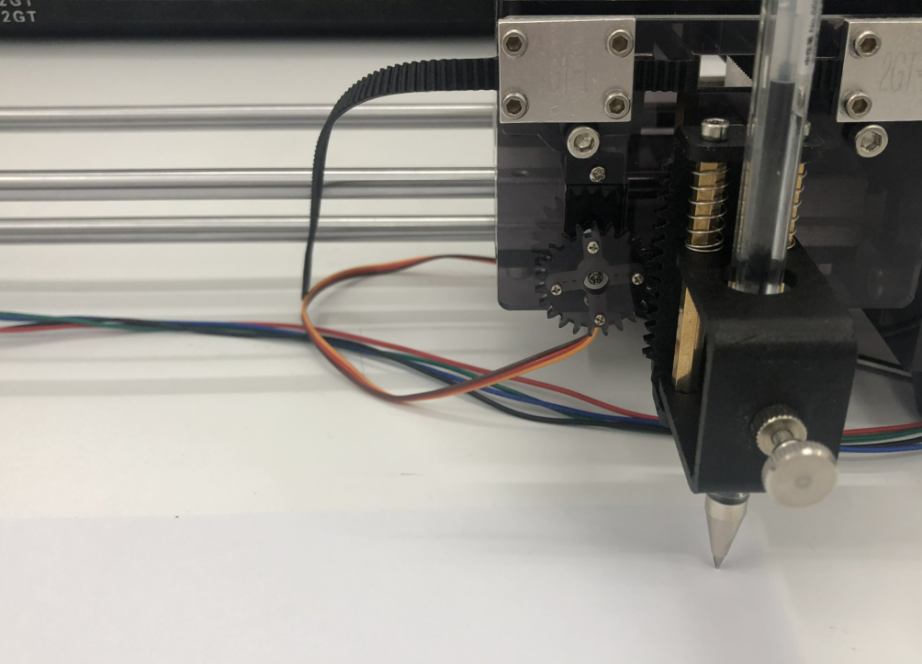
Hold a pen
Rotate the knob anticlockwise
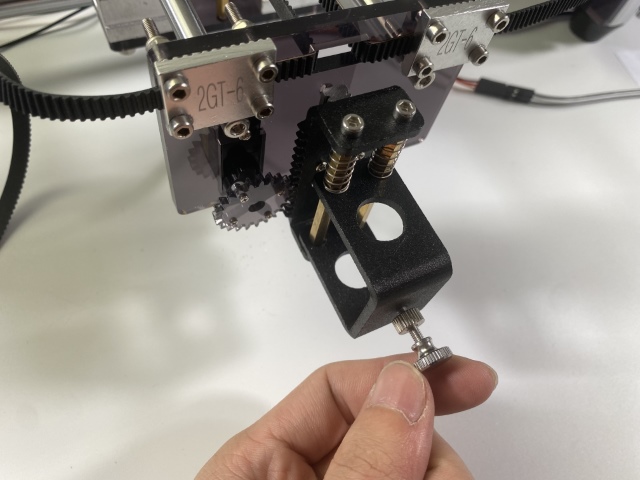
Put a pen and adjust it at a proper height
lock it tightly
3.2 Install Arduino IDE and burn firmware
Browse the file 
(1). Install Inkscape and Gcode
Inkscape aims at generating Gcode that can be identified by the machine.
They are included in the folder we provide, as shown below;

Double-click inkscape-1.1.2_2022-02-05_b8e25be833-x64.msi to install and you will see  on the desktop
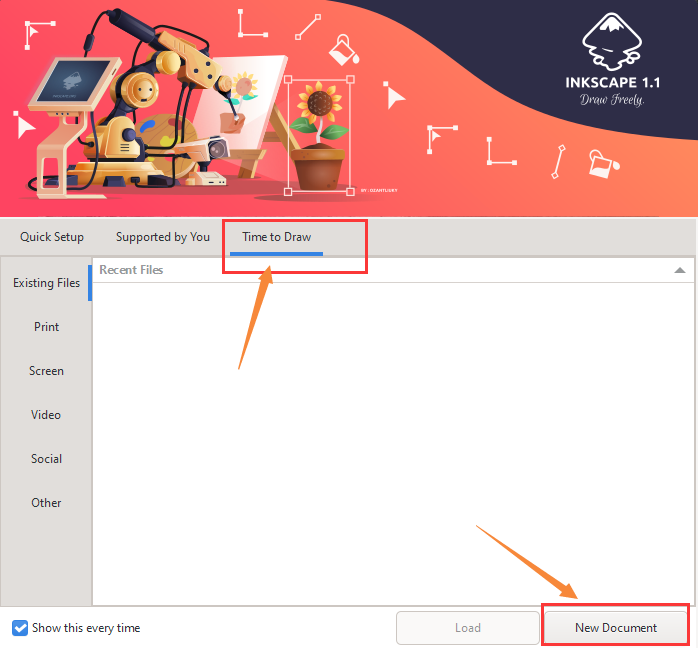
(2). Add extension package
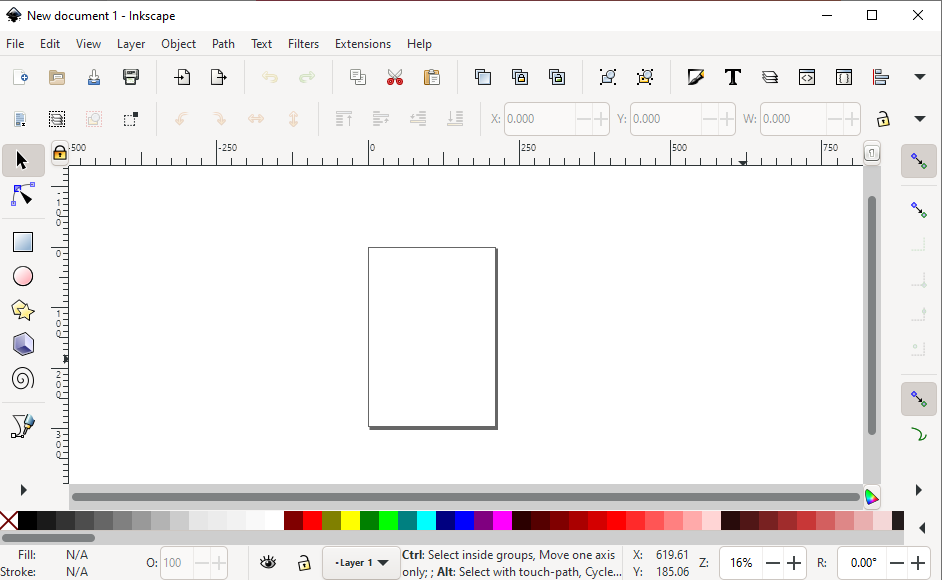
Double-click Inkscape and click Time to Draw then New Document.
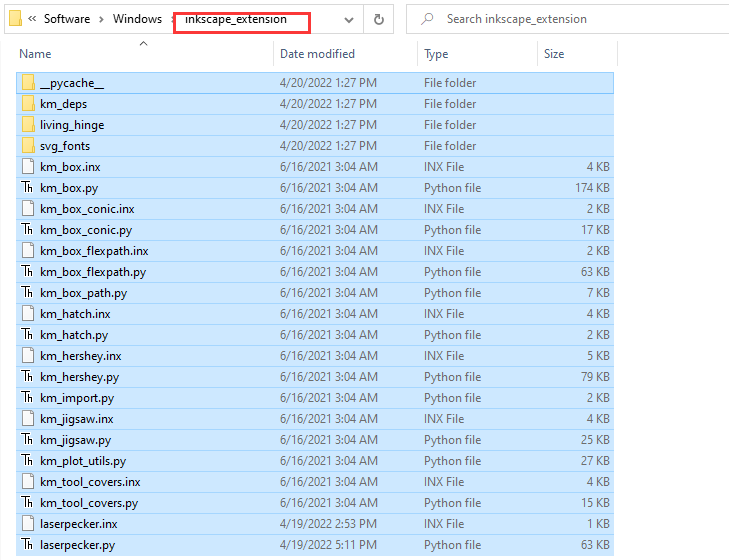
Copy all files of the extension package inkscape_extension.
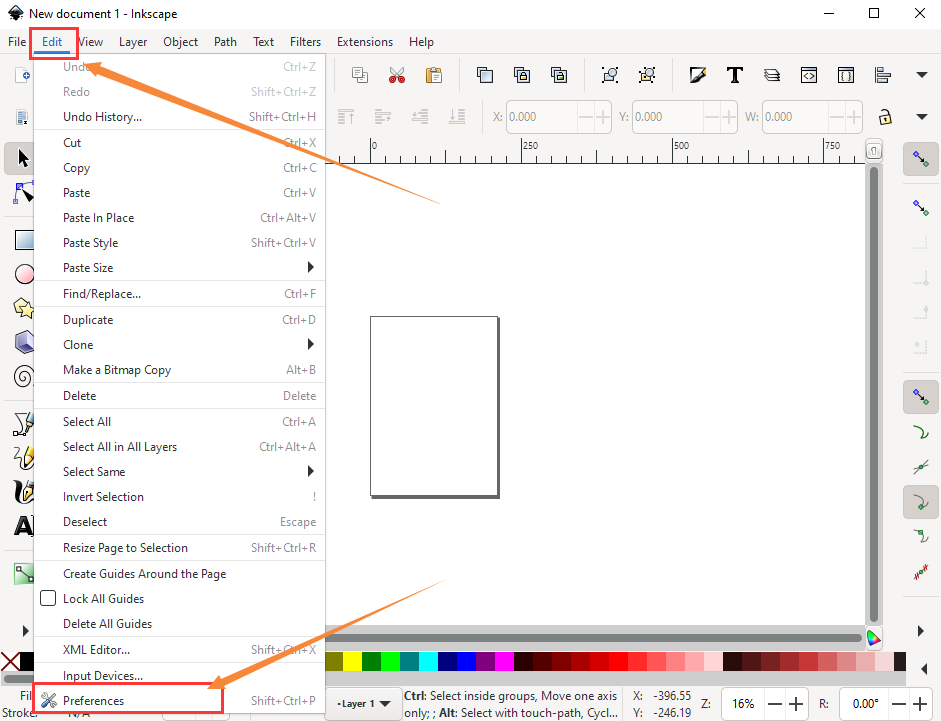
Click Edit and Preferences
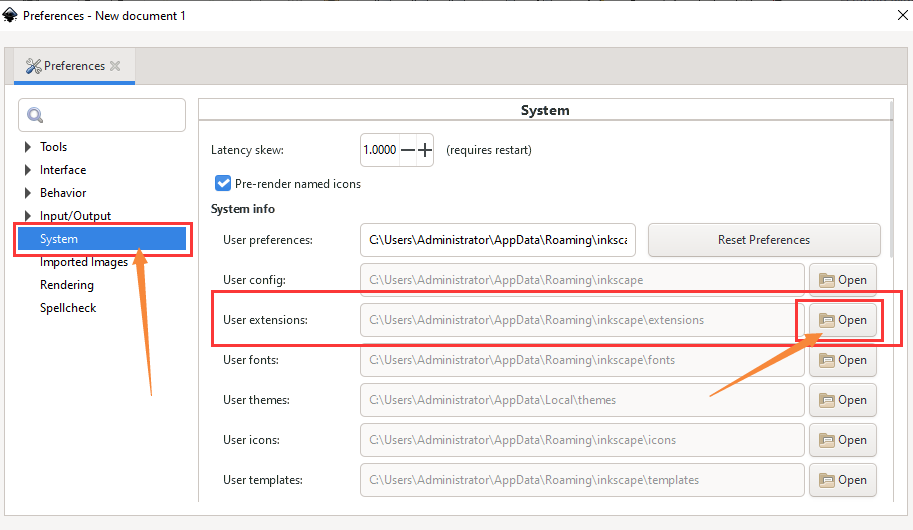
Click System and open User extensions
Then all files of the extension package to the following directory
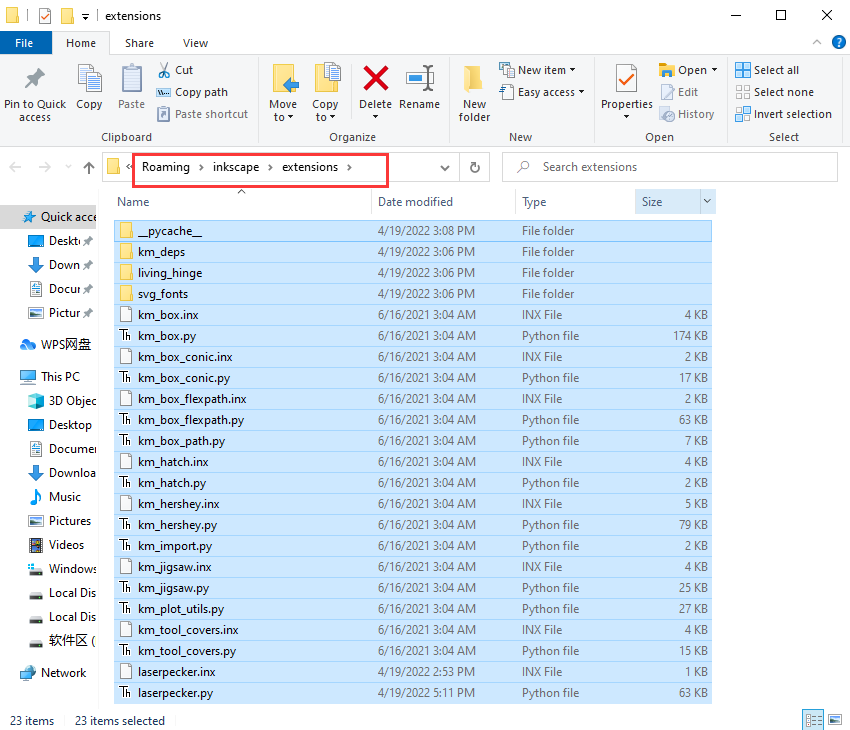
Check if the extension package is well installed
(3). Turn off inkscape and reboot it
Click Extensions,then you will view keyestudio drawing and KM-LASER. That means successful installation.

3.3 Install Universal Gcode Sender
Universal Gcode Sender is designed to enable the movement of the machine through hand and command control as well as send Gcode
You can download installation package:http://winder.github.io/ugs_website/download/. Also, we provide it in the folder.
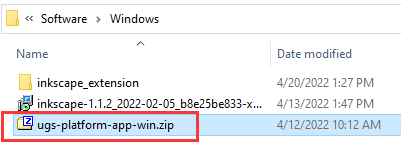
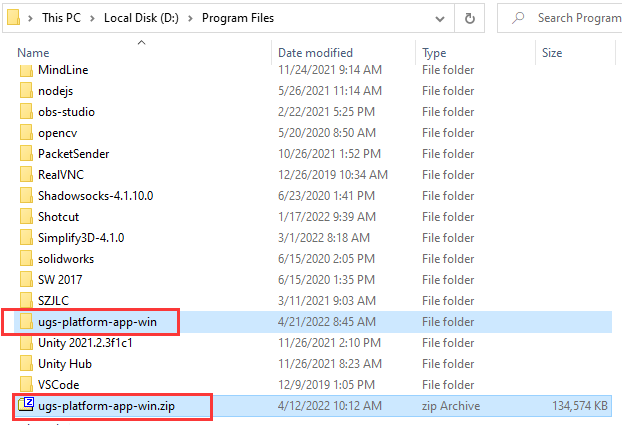
(1). Unzip software package
Copy ugs-platform-app-win.zi to D:\Program Files
(2). Open the software
Open the bin folder from the unzipped folder.
D:\Program Files\ugs-platform-app-win\ugsplatform-win\bin
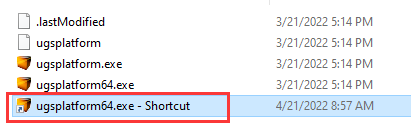
If your computer is 64-bit, double-click ugsplatform64.exe
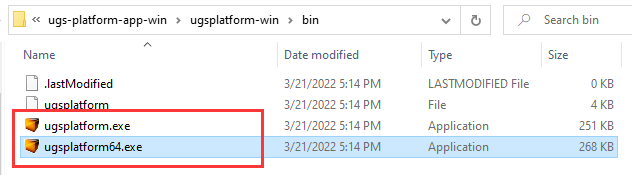
Click ugsplatform64.exe then right-click Create shortcut to generate a shortcut key, as shown below;
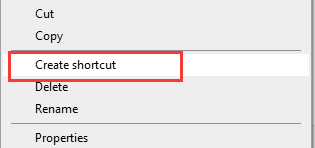
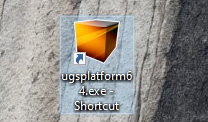
Then copy it to your desktop.
4. Modify firmware parameters
4.1 Wire up a power supply with USB cables
4.2 Connect the machine to the Universal Gcode Sender
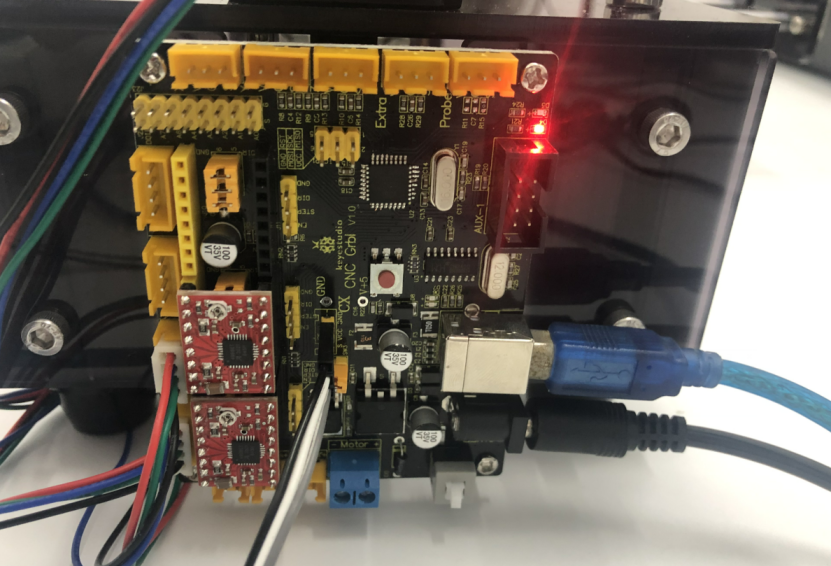
Wire up in accordance to the following figure
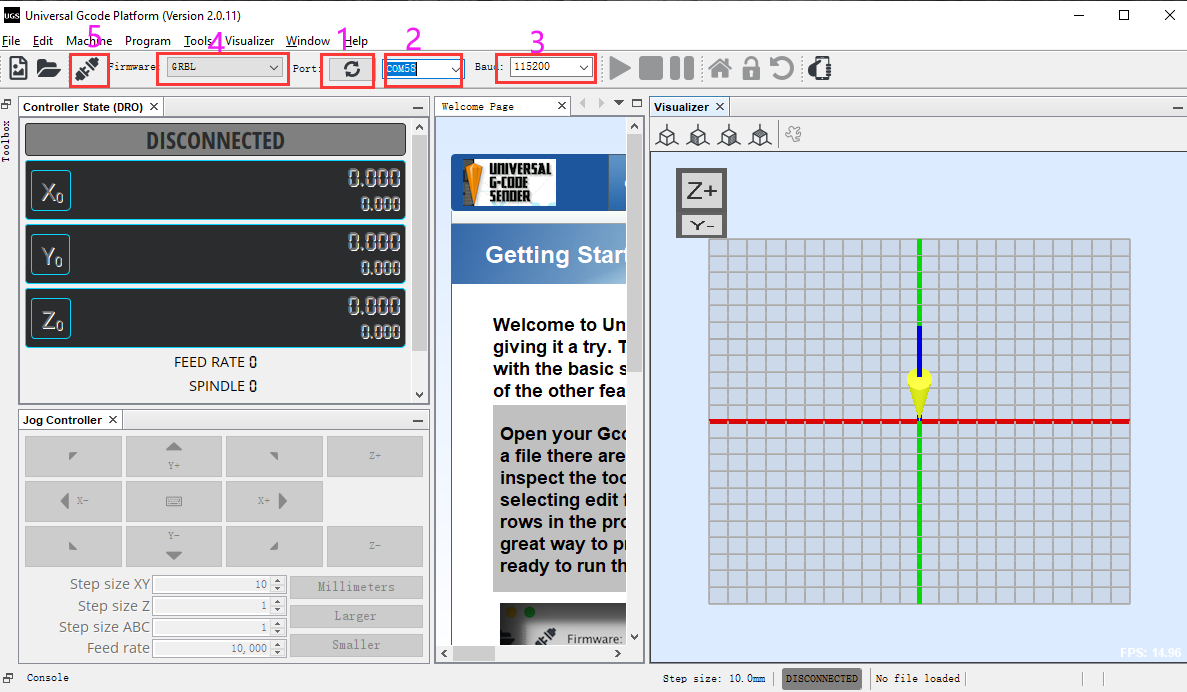
The LED on the control board will flash after the board is well connected. And Universal Gcode Sender will show as follows;
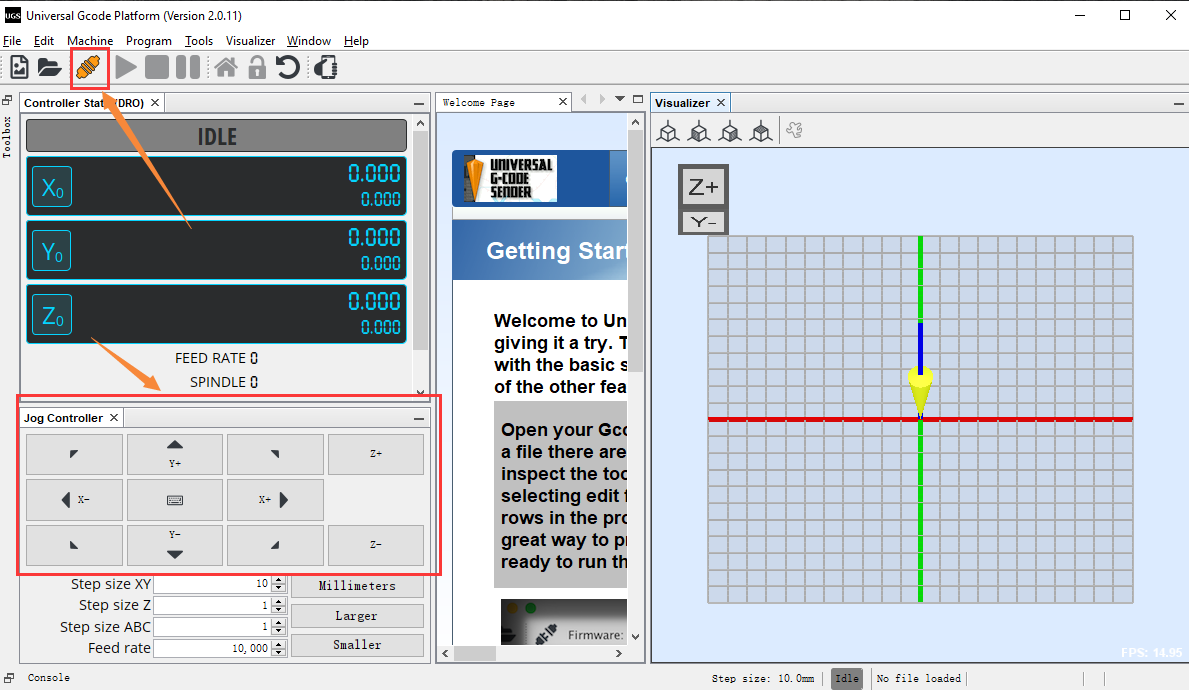
4.3 Control the machine to move
Power up, keep moving parts not too close in that collision will occur during movement.

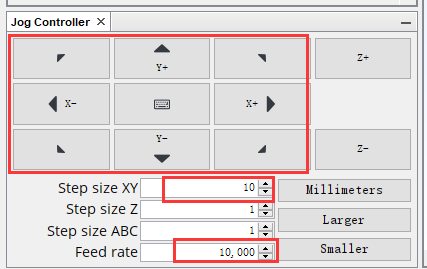
Set steps of X and Y axis,click direction keys. Normally,the machine will move at X and Y axis.
Step size XY stands for movement distance while clicking a key
Feed rate is speed
4.4 Set motion parameter
steps of rotation |
200 |
|---|---|
belt pulley |
20 |
GT2 belt |
2mm |
Through calculation, 80 steps is needed when the x and y axis of the machine moves 1mm, the following formula is shown below:
x_steps_per_mm = y_steps_per_mm =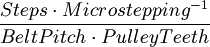
Parameters description in the formula
Steps = Steps of the stepper motor(the step of the 1.8 degree motor is 200)
Microstepping = driver configuration of the stepper motor (RAMPS is default as 1/16 etc.)
BeltPitch = teeth pitch of synchronous belt (T5 is 5.00mm , XL is 5.08mm , GT2 is 2.0mm etc.)
We use GT2
PulleyTeeth =2o tooth
Finally, substitute the parameters into the formula
$$ x_steps_per_mm = y_steps_per_mm =20016 / (220) = 80 $$ Parameter $100 and $101.
We decide how many steps the machine move 1 mm.
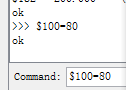
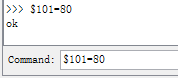
need to set $100=80, $101=80
If above two parameters differ from real parameters of the machine, the size of newly produced pictures will be not as same as the defined pictures
4.5 Setting method
Click Console,a command box will appear, as shown below;
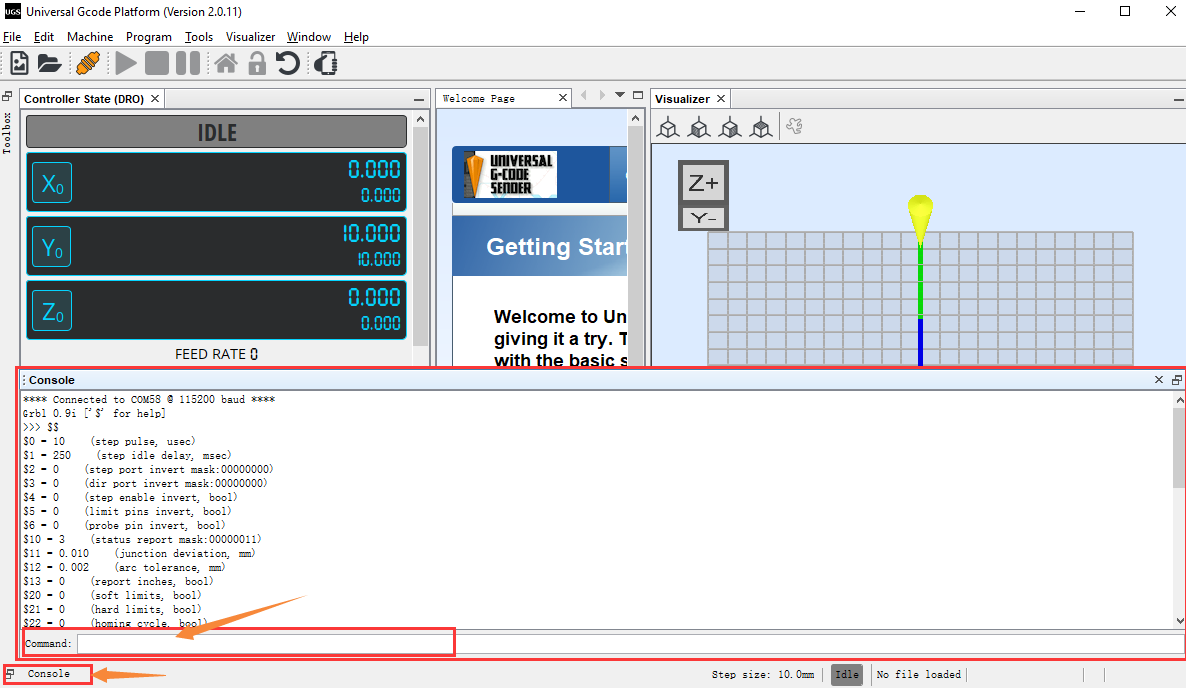
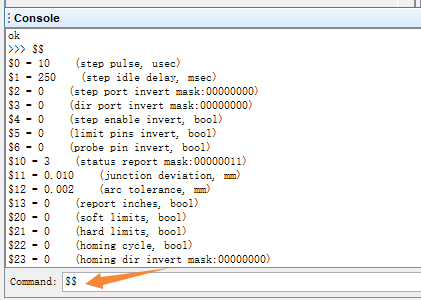
Input $$ and click Enter,then you can click all parameters of the firmware.
Set $100=80, $101=80, then you need to input $100=80 + Enter and $101=80 + Enter
4.6 Adjust the distance between the writing head and the paper
Control command |
|
|---|---|
Write |
M3 S50 (0~90correspond to the rotation angle of 0~180) |
Hold the pen |
M5 S0 |
Put an A4 paper under the machine
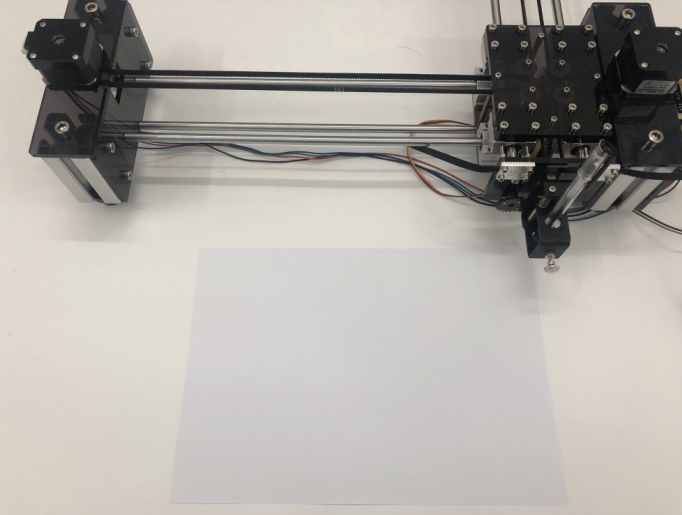
Send a command to control the pen holder
Power up, connect USB cables.
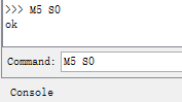
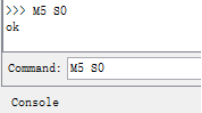
Lift the pen holder, M5 S0 + Enter
Lower the pen holder, M3 S50 + Enter, fix the pen on the holder and make the writing head touch the paper.
At this step, the pen holder is well adjusted.
4.7 Adjust speed to write and draw
Set parameters of the machine to $110 and $111 and acceleration value to $120 and $121.
Input $$ in the Command to check the configuration parameter and view $110, $111, $120 and $121
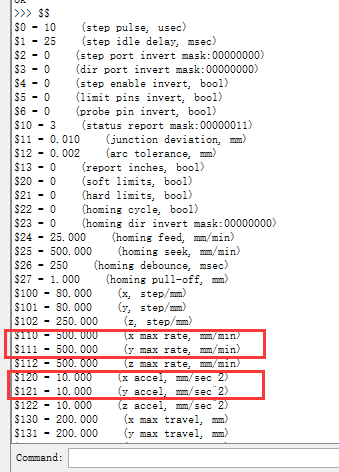
We turn $110 and $111into 500,$120 and 121 are equal to 10
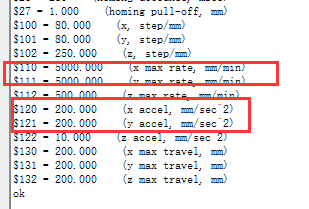
We turn $110 and $111 into 5000,$120 and 121 are turned into 200
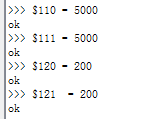
In Command, input:$110 = 5000 + Enter,$111 = 5000 + Enter; $120 = 200 + Enter,$121 = 200 + Enter
Input $$
You can adjust speed values if you think speed is too fast or slow.
5. Generate pictures into Gcode through Inkscape
Roughly all pictures can be identified and generated into contour pictures through Inkscape, then transformed into Gcode through an extension tool
5.1 Generate pictures into Gcode
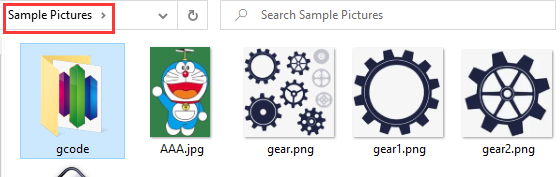
We provide example pictures in the file. However, you can choose pictures you like.
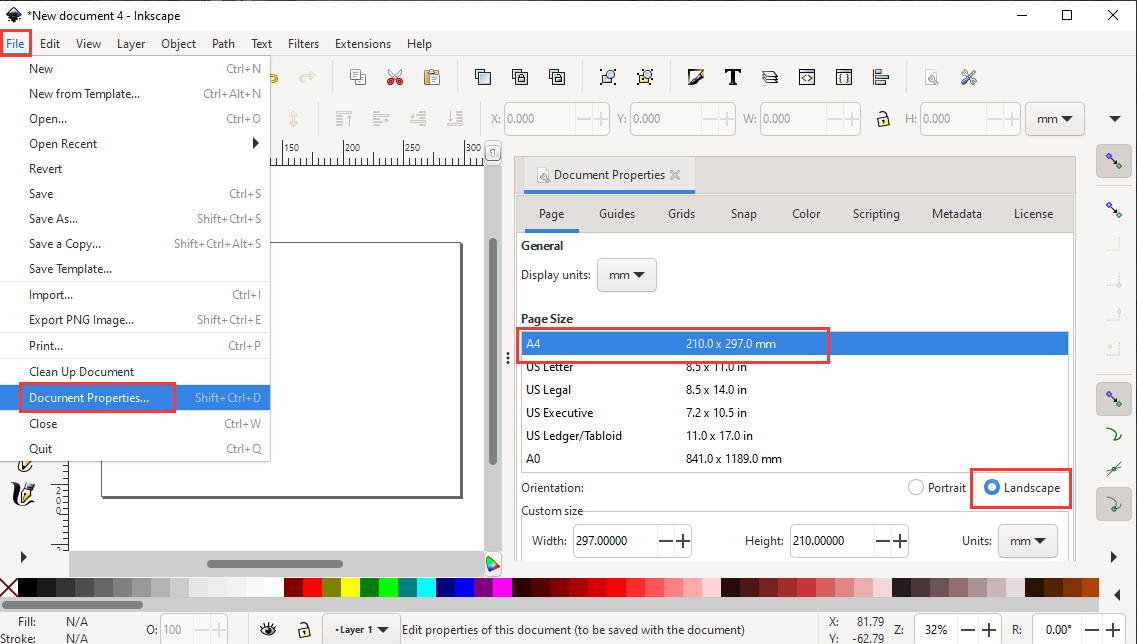
Open Inkscape. Click A4 and landscape
5.2 Open example pictures
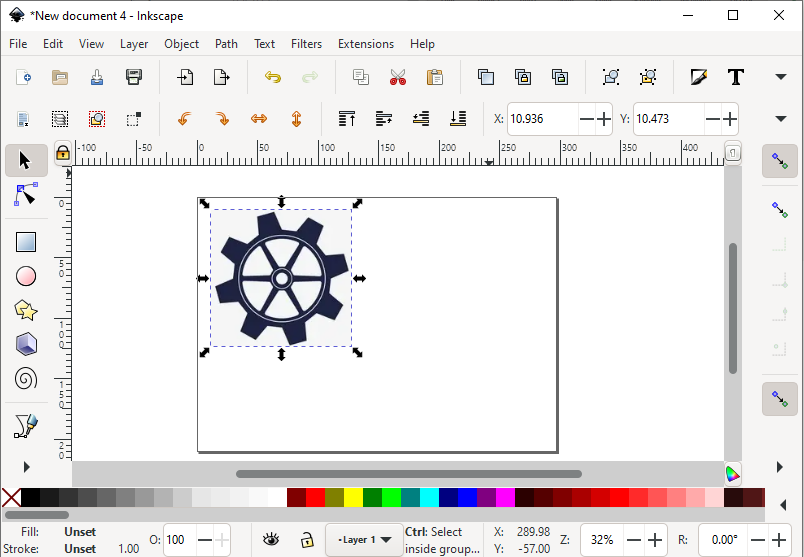
You only need to drag example pictures to the interface of the software.
5.3 Generate outline picture
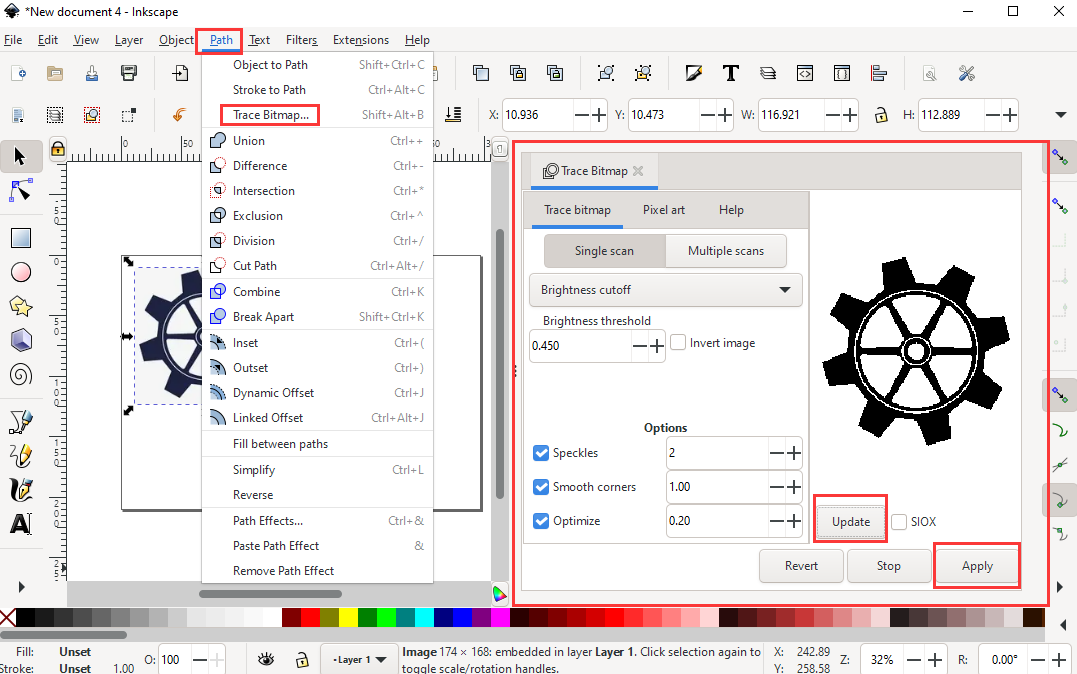
Click Path > Trace Bitmap > Update, then generate Bitmap pictures, as shown below;
Drag the generated picture aside then delete the original one.
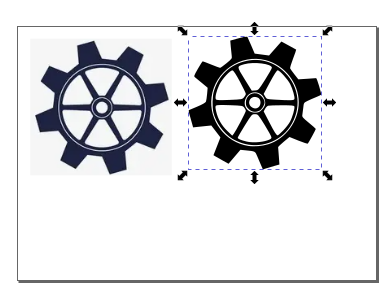
Adjust the size and location of bitmap picture and keep it in the paper.
Produce Gcode
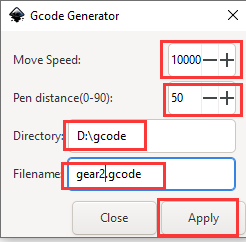
Adjust speed of x and y axis and how much the pen holder can lower down. Save the path of Gcode and name, then click Apply.
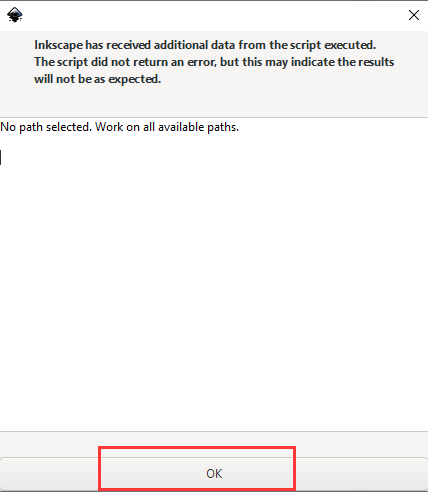
Click OK
Open the path you saved then a new Gcode file is produced
6. Control the machine to draw via Universal Gcode Sender
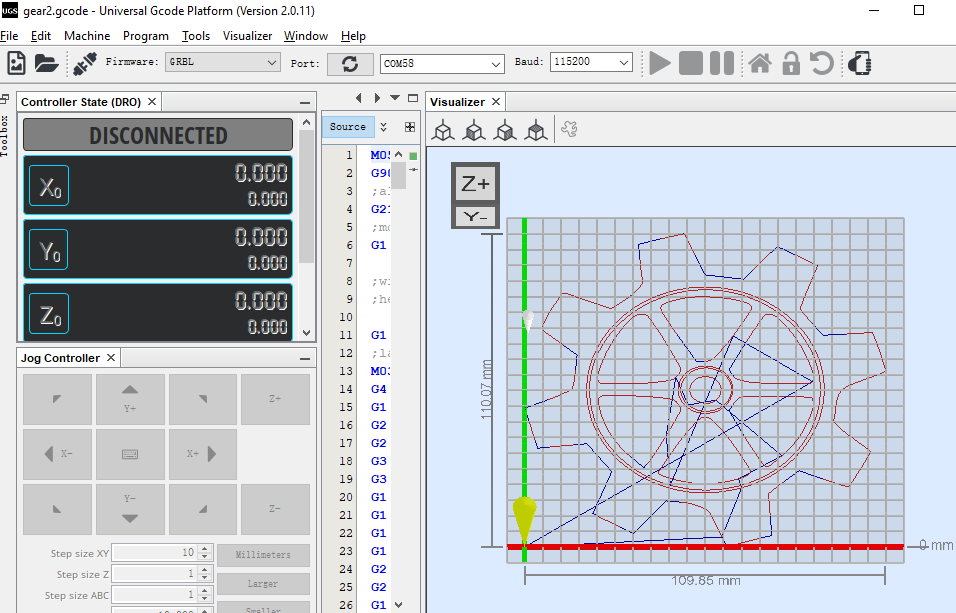
We transform the picture gear 2 into gear2.gcode then send gear2.gcode to the pen plotter to draw gears.
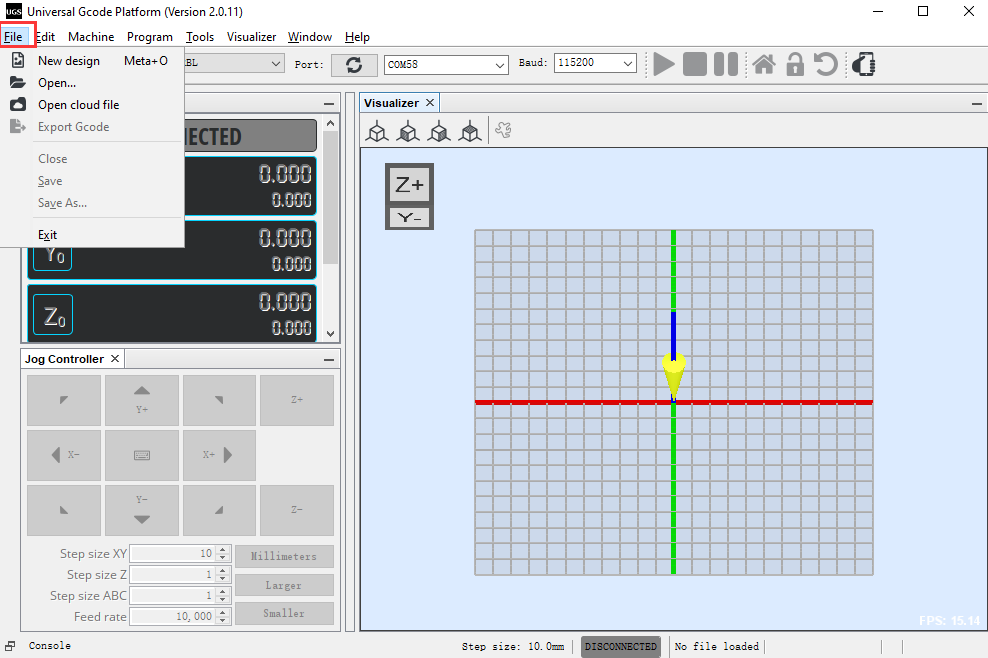
Open Universal Gcode Sender
Click File > Open
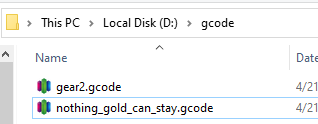
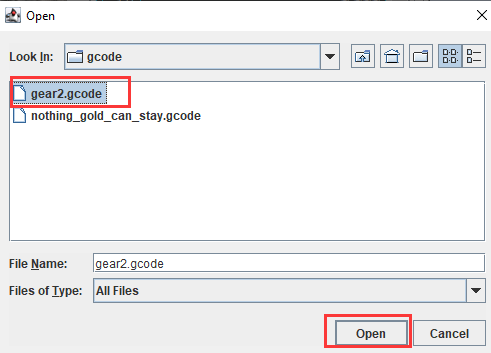
Save the path of the gcode and open gear2.gcode
Connect and draw
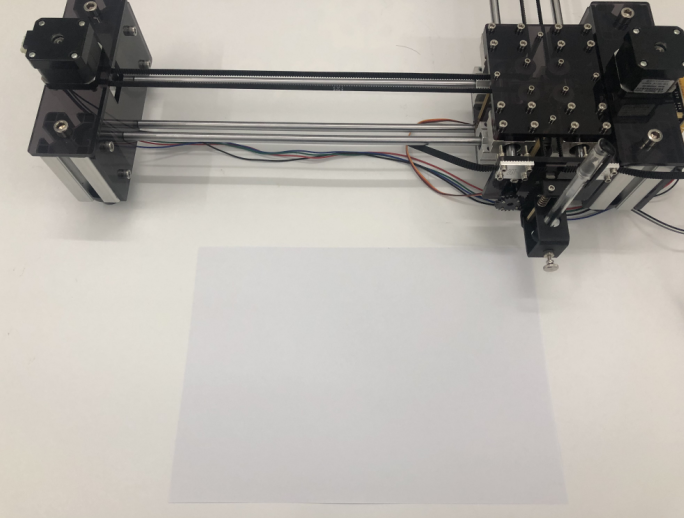
Move the X and Y axis at the start point, leave an A4 paper under the machine and keep them aligned, as shown below
Follow the instruction to operate
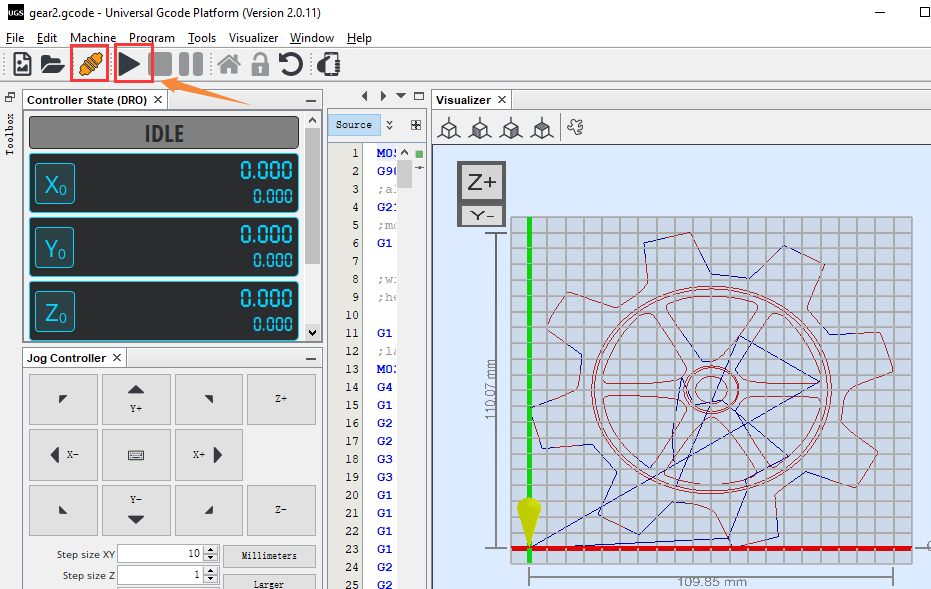
Normally, the pen plotter will start drawing the gear
7. Turn fonts into Gcode through Inkscape
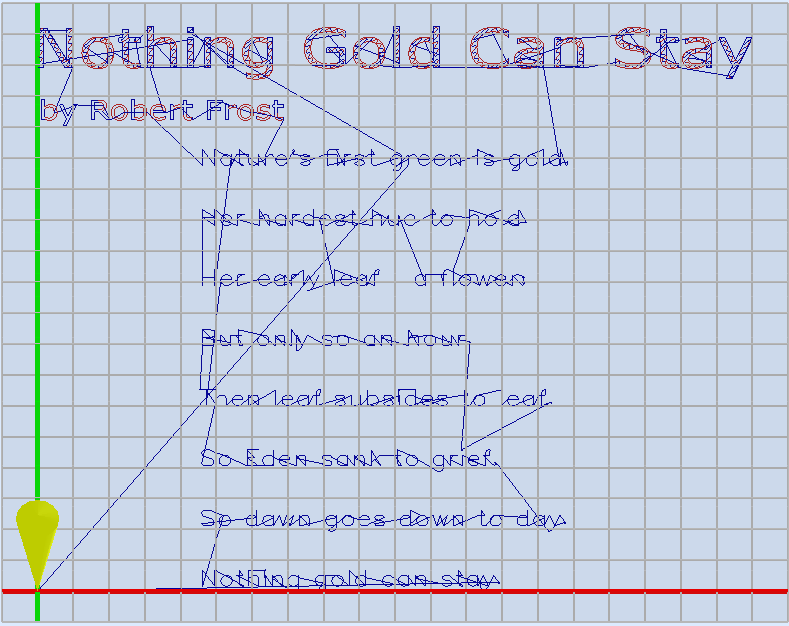
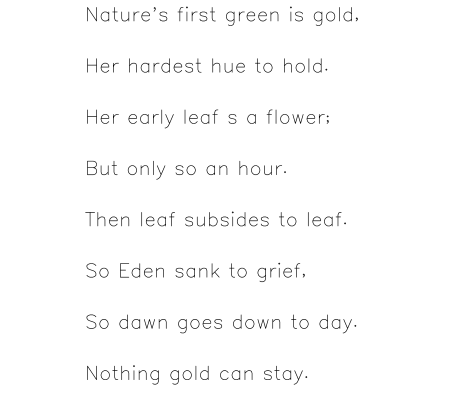
This is a poem named Nothing Gold Can Stay
The headline is filled font, the author name is not filled and the poem is monoline font. That indicates gcode is completed through three methods
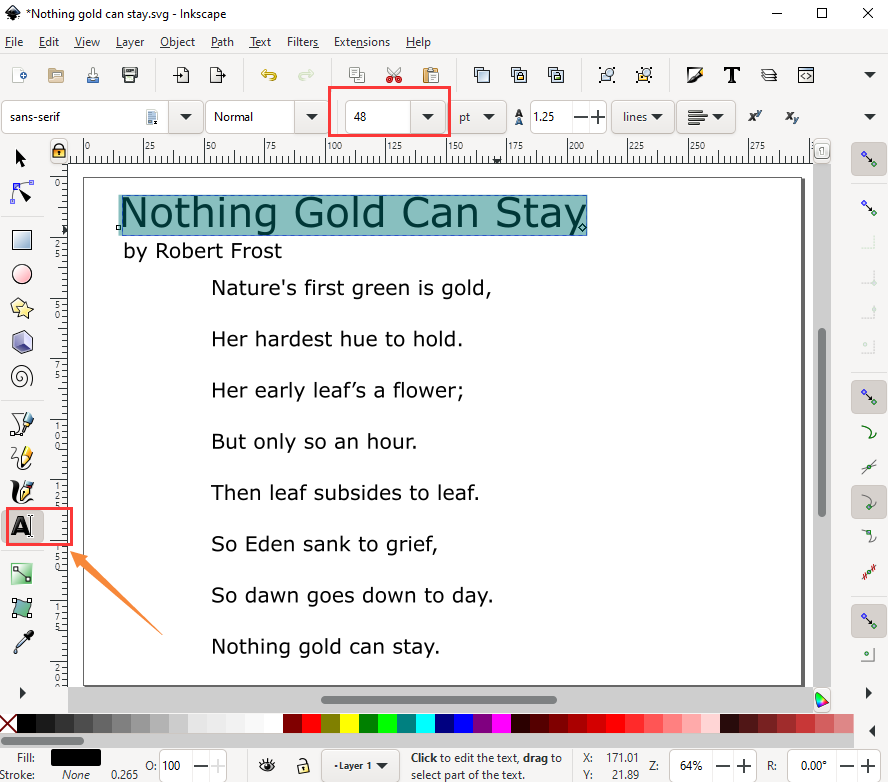
7.1 Write a poem through inkscape
Adjust the size of fonts, as shown below
7.2 Deal with filled fonts
The headline is filled
Select the headline and click Path > Object to path
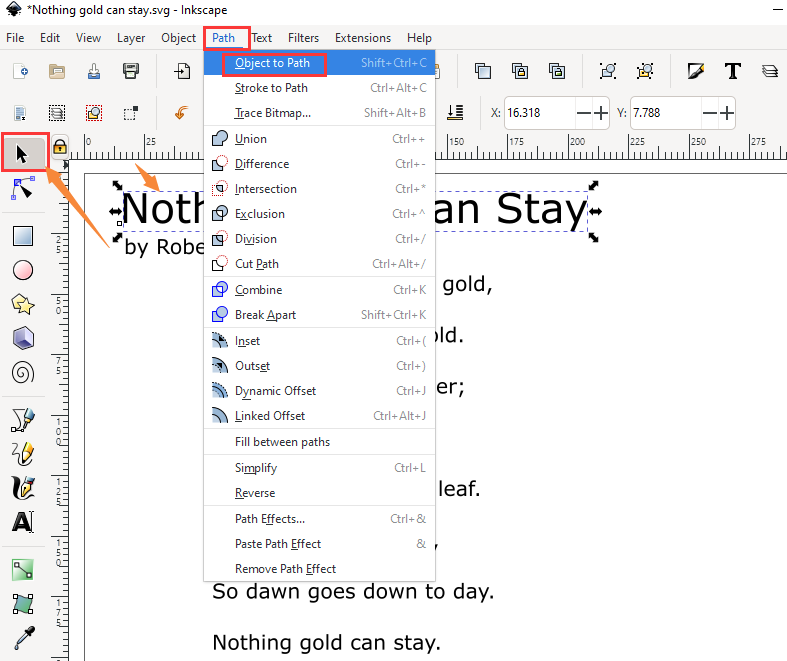
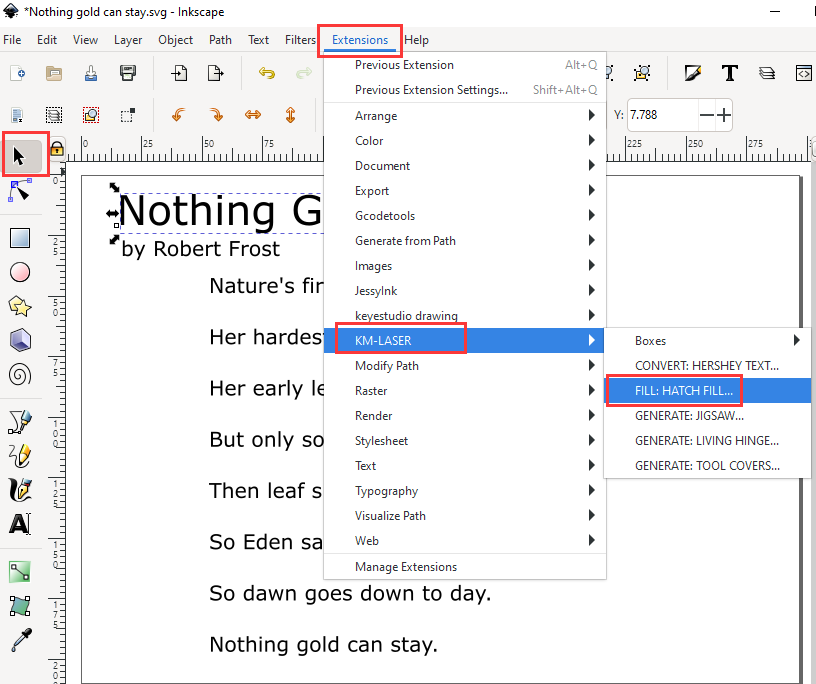
Then click the headline again and click Extension > KM-LASER > FILL:HATCH FILL
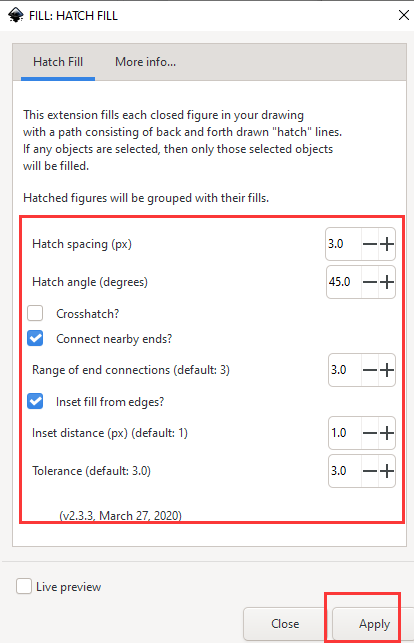
Then a page appears and keep parameter unchanged and click Apply
Now, you will find the font of the headline change

7.3 Hollow Fonts
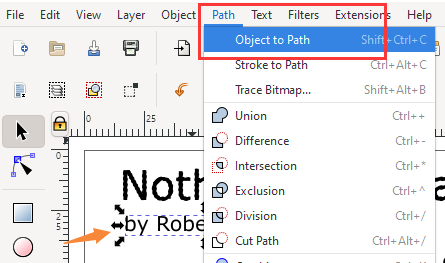
The name of author is set to hollow fonts
Select the name and click Path > Object to Path
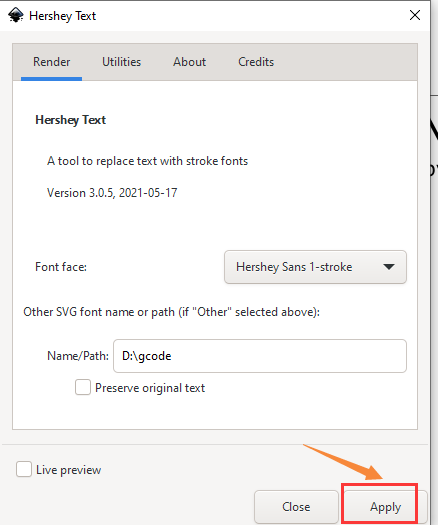
7.4 Mongline fonts
Follow the instruction as below:
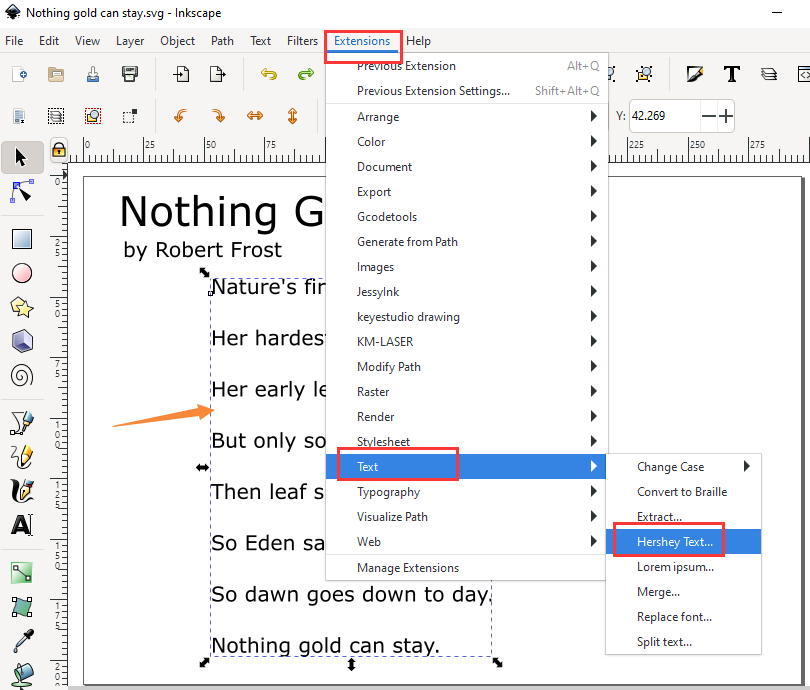
7.5 Transform fonts into Gcode
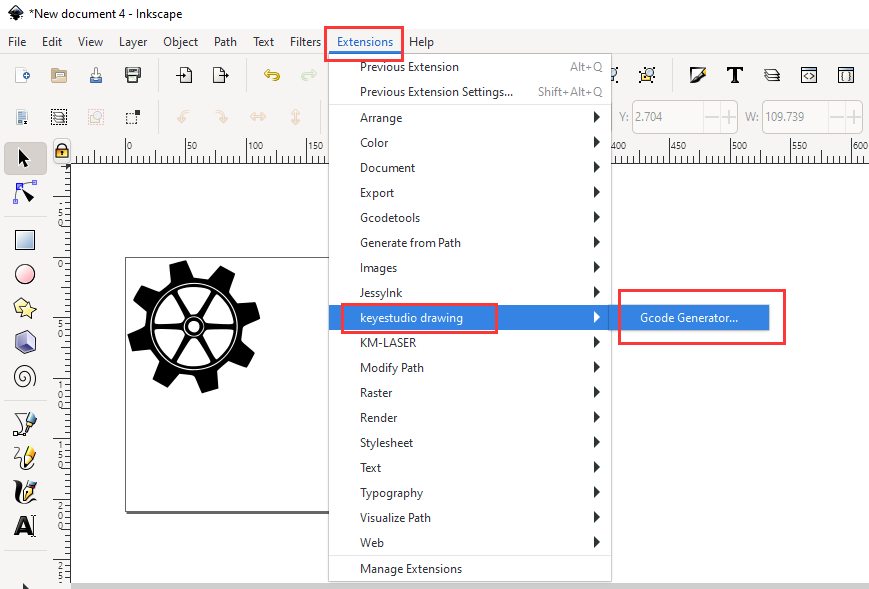
Click keyestudio drawing > Gcode Generator to generate gcode.
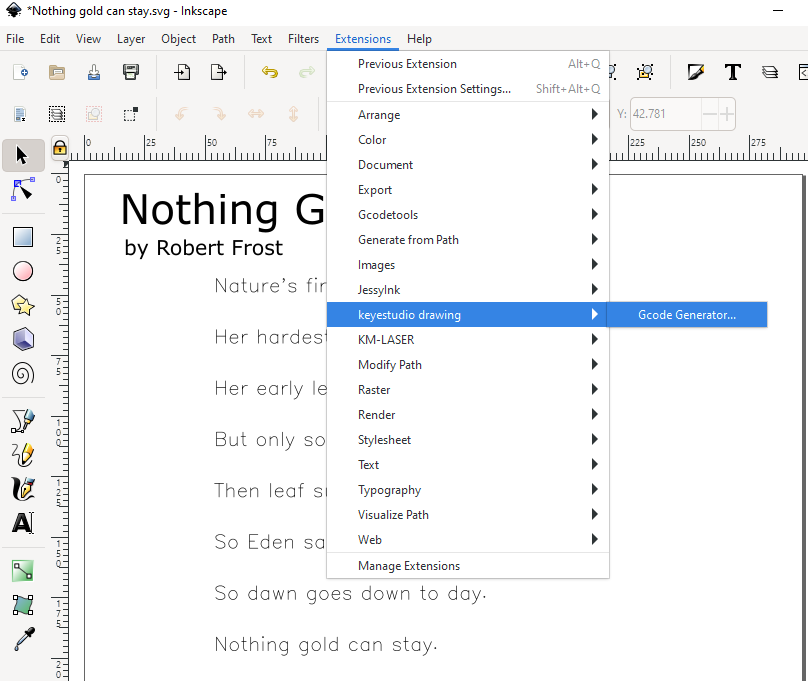
Remember to modify the name of Gcode

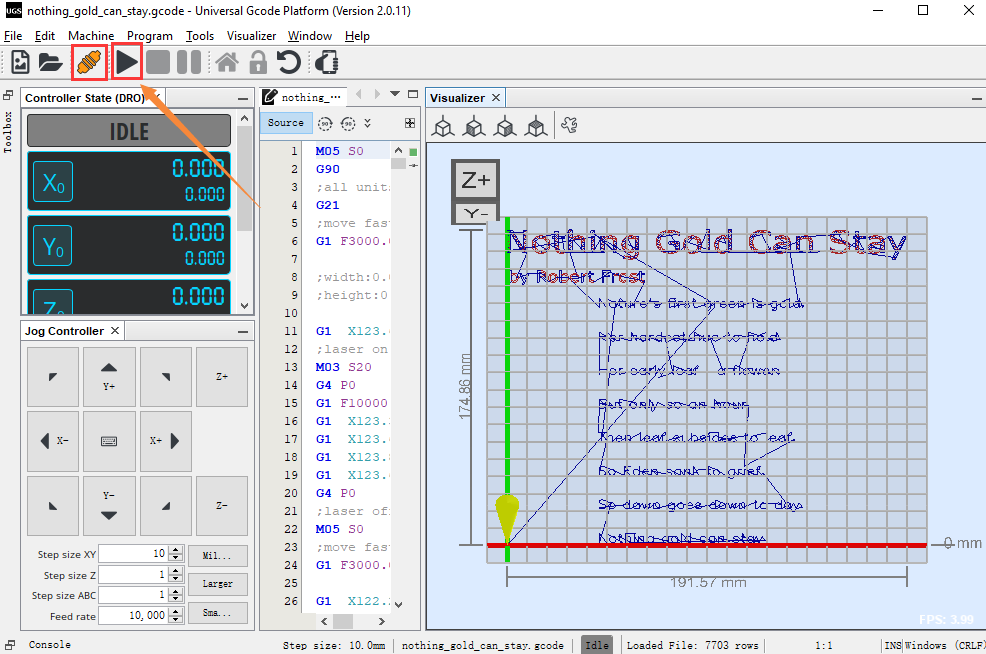
7.6 Control the machine to write through Universal Gcode Sender
Move the X and Y axis at the start point, leave an A4 paper under the machine and keep them aligned, as shown below
Open the above generated Gcode through Gcode Sender
Connect and click start. Then a poem Nothing Gold Can Stay will be shown